Git and GitHub
Original Author: Sumon C, May 27, 2021
Introduction
The following is a short introduction to the Git version control system, and GitHub, a web-based hosting service for version control using Git. Both of these tools are used during software development at REDCap@Yale. Here, we'll be using GitHub, and the Git Bash program for Windows (or the system Terminal for Mac and Linux). Instructions assume understanding of basic command line operations. Most commands written below should be typed in the UNIX or Git Bash terminal.
If you are familiar with using Git for personal projects and are only interested in learning how we apply the distributed developer workflow within REDCap@Yale, you can jump to the workflow section.
Initial set up on GitHub
Setting up GitHub
First, you will have to create an online account. GitHub can be found here: https://github.com
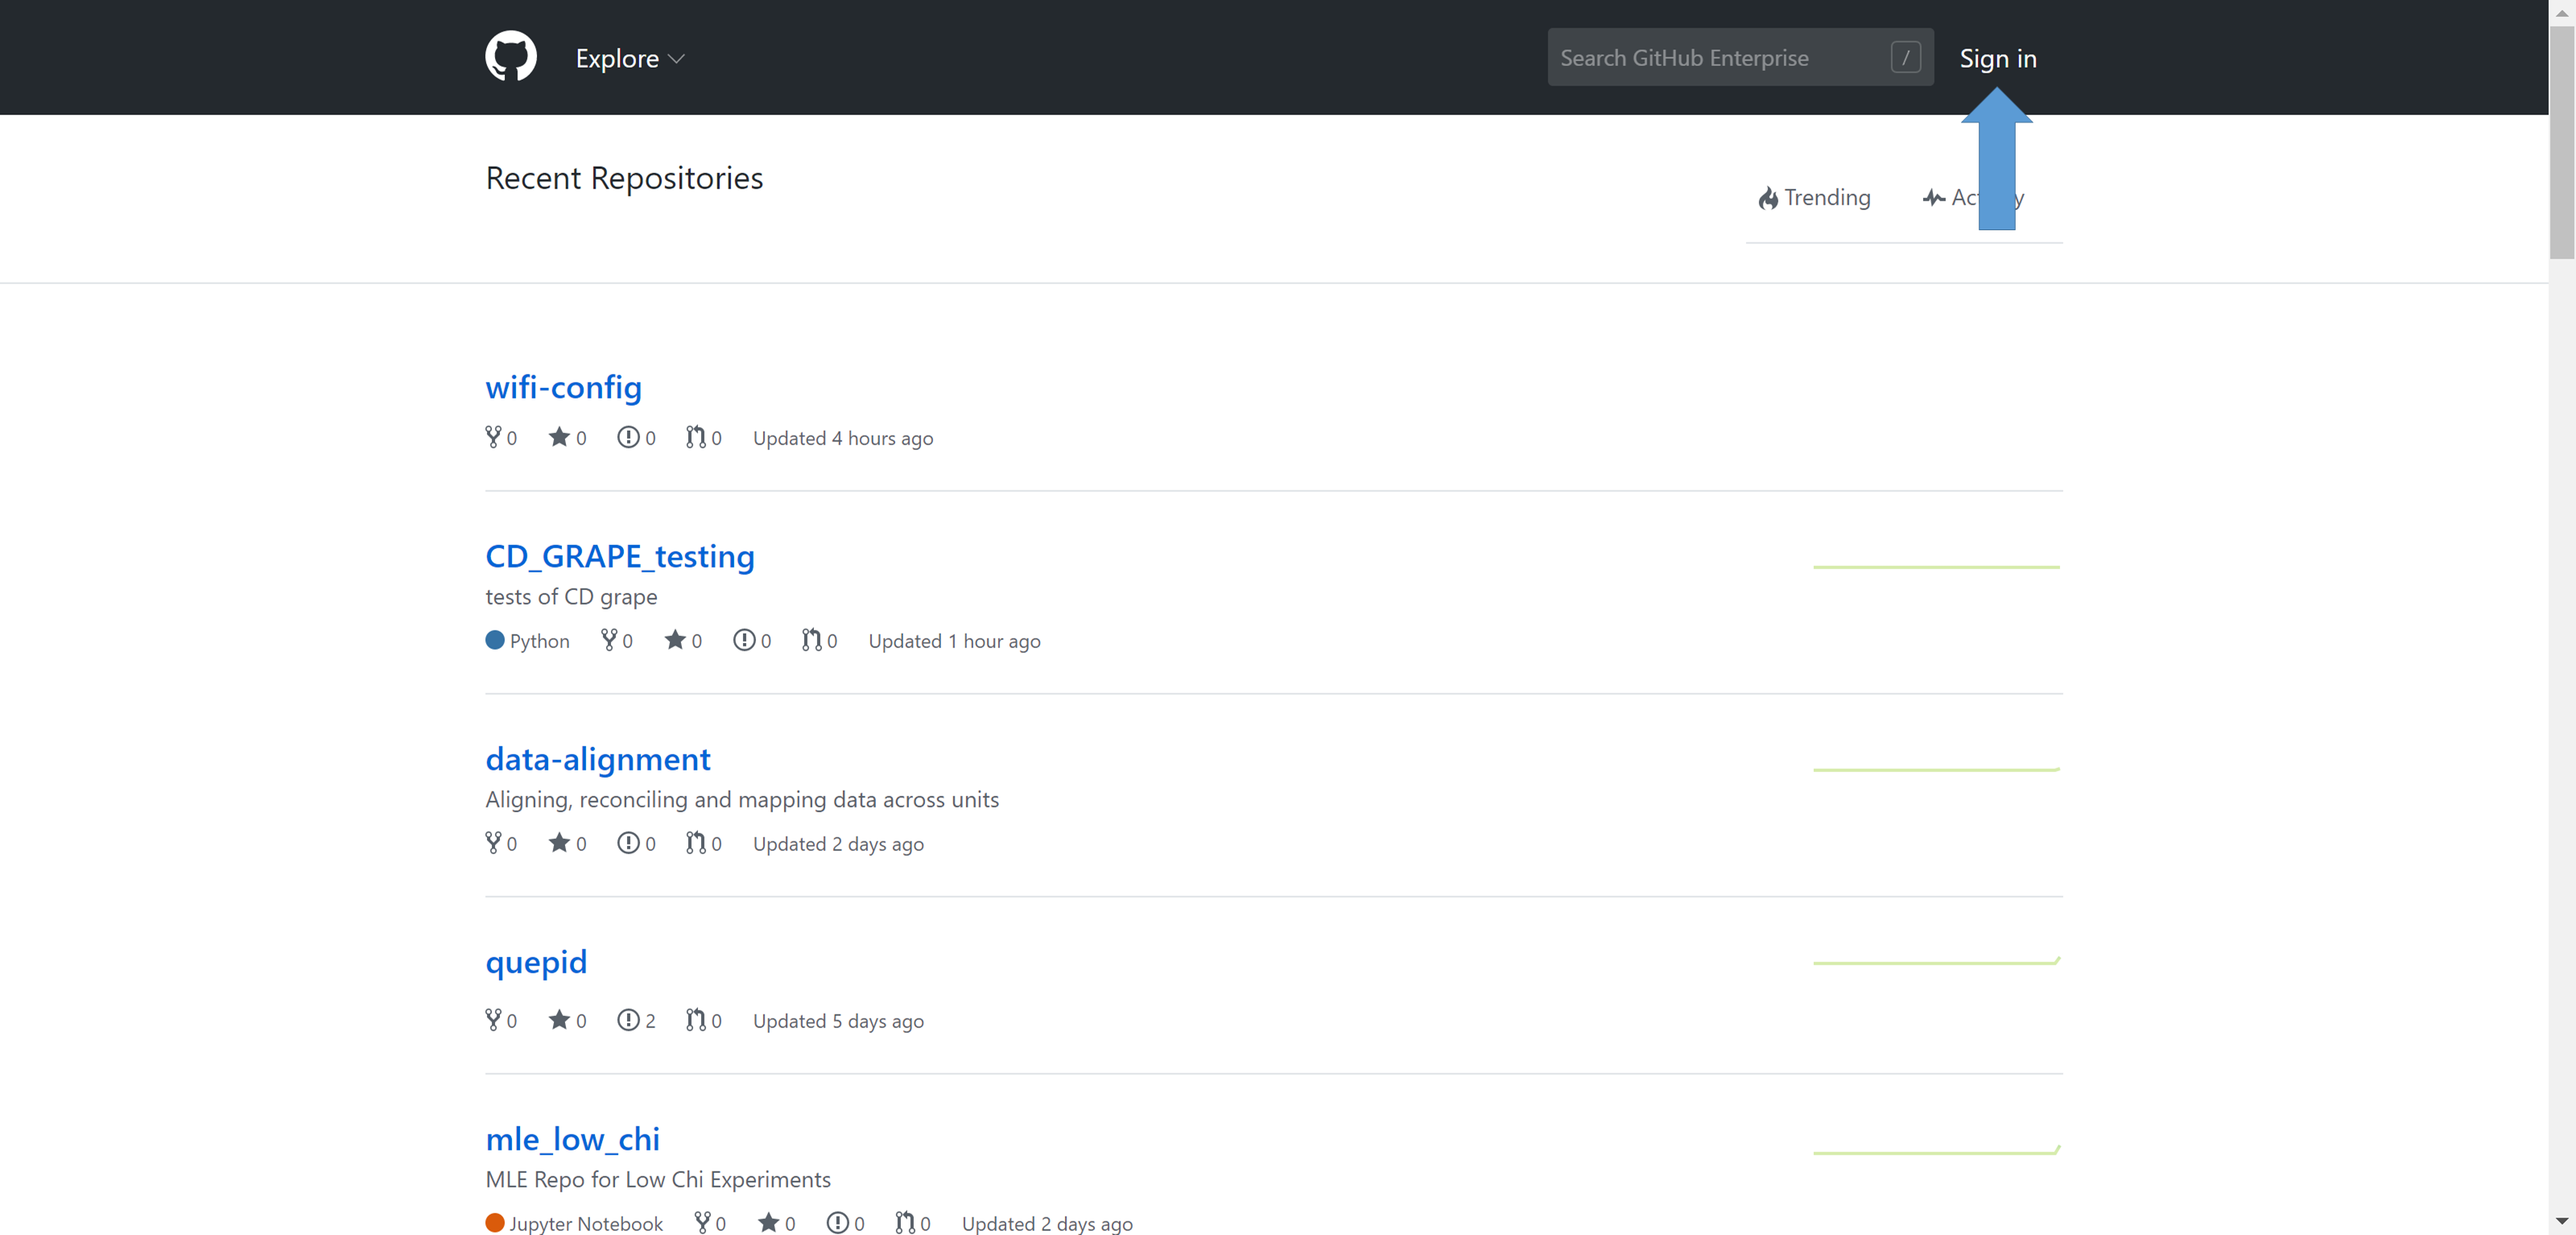
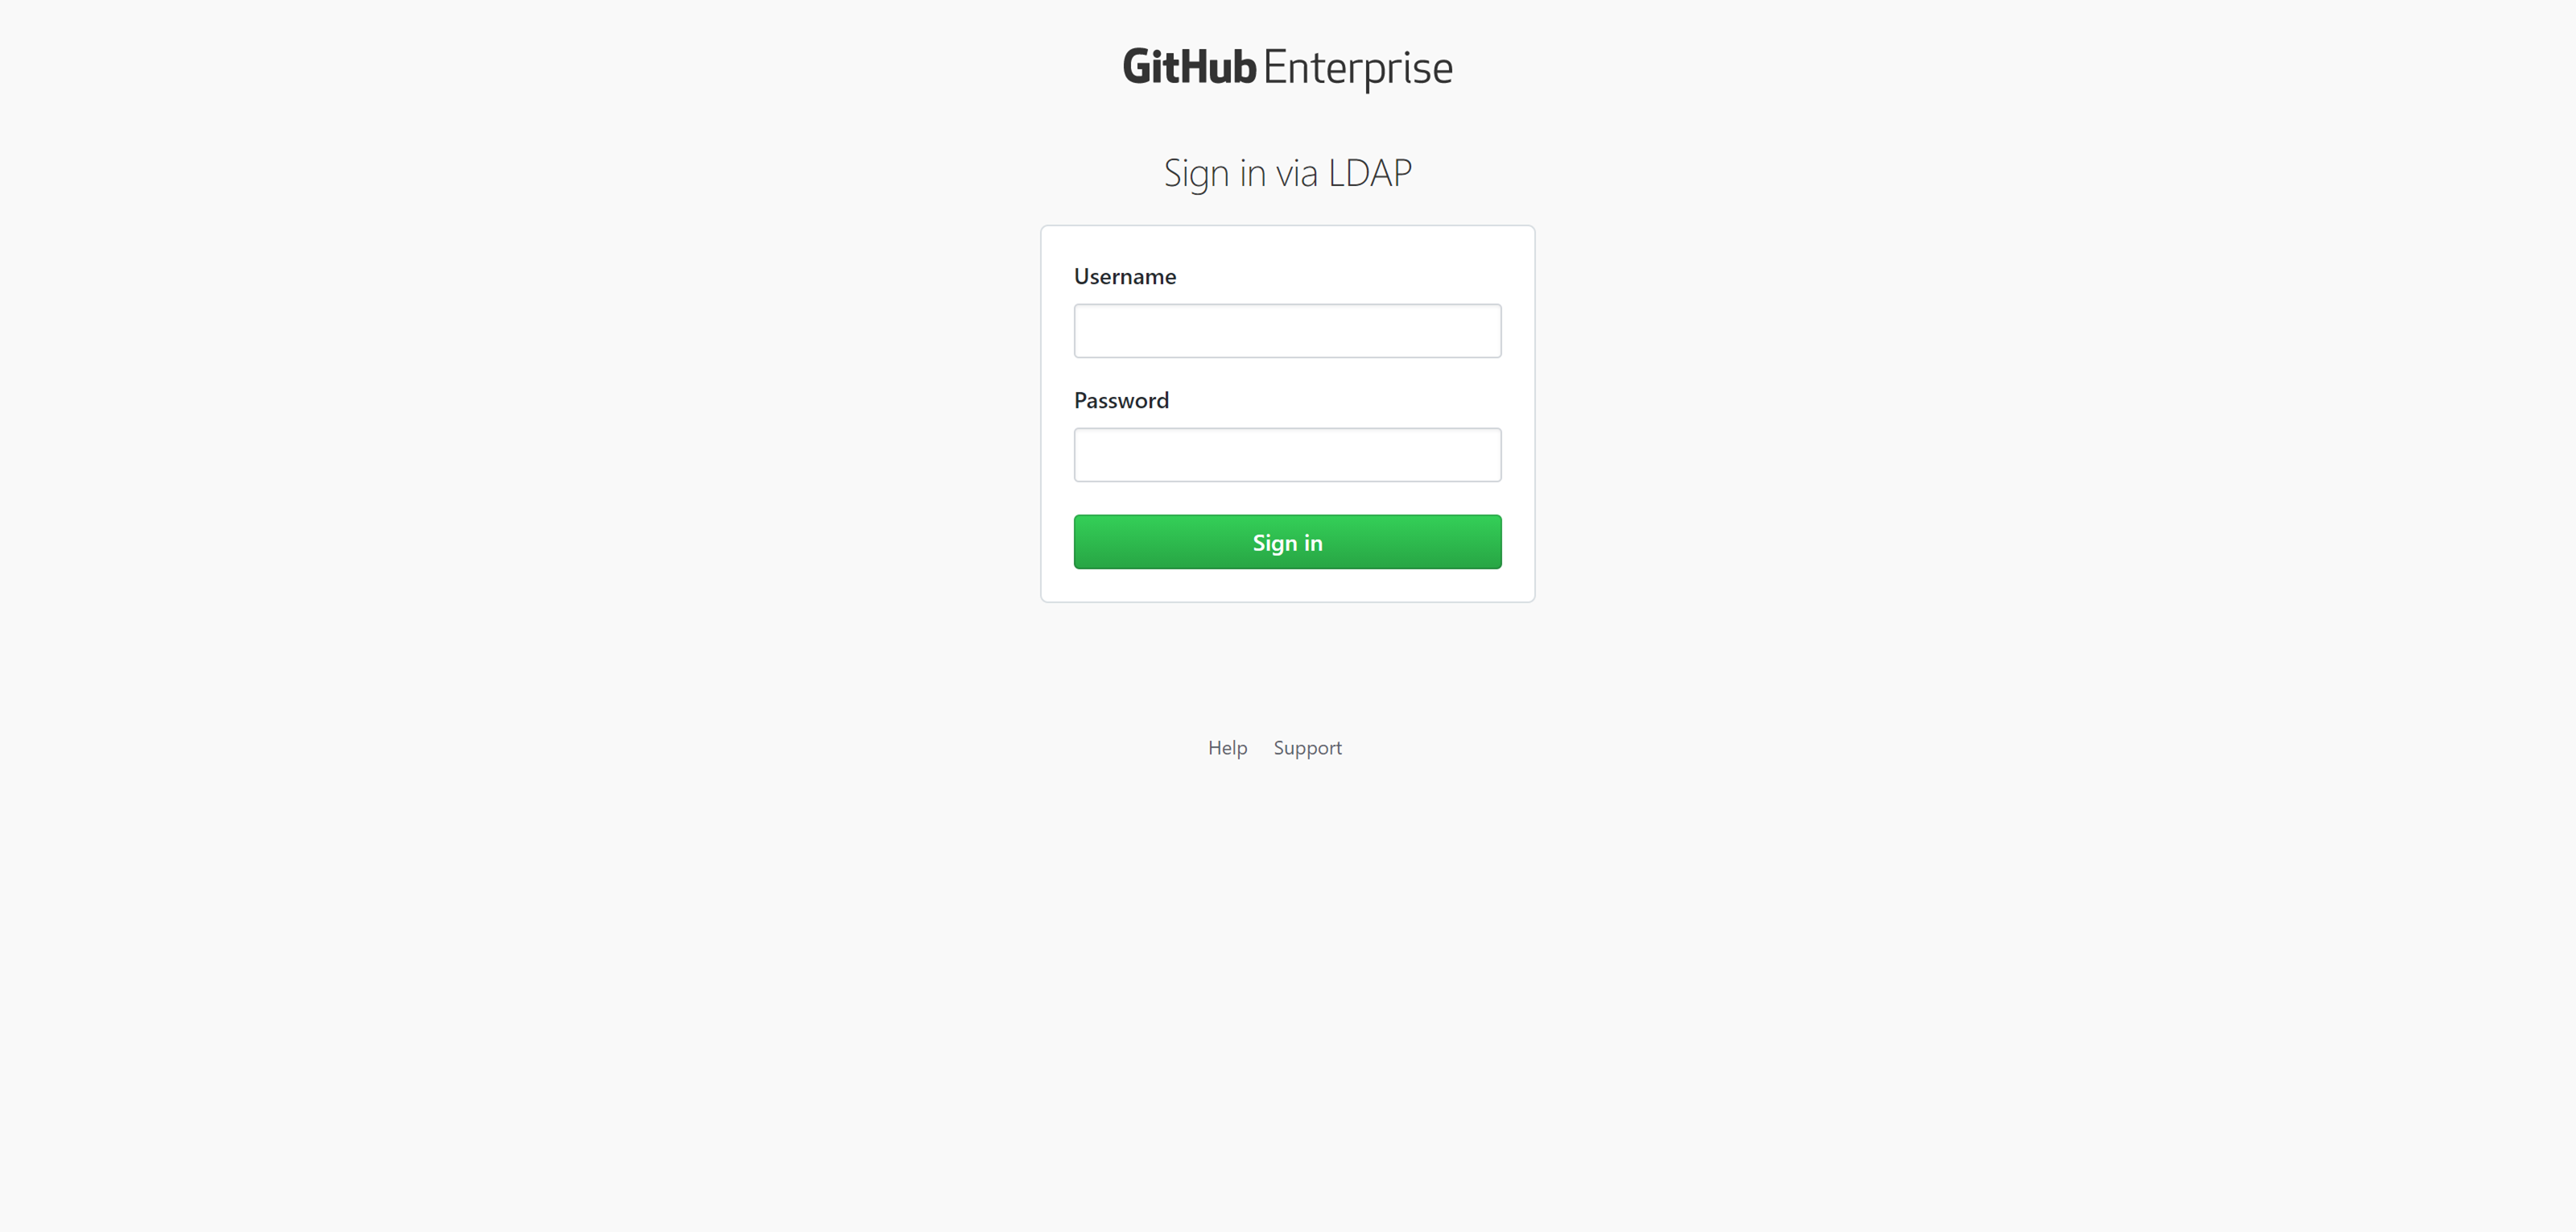
Sign in with your NetID and password.
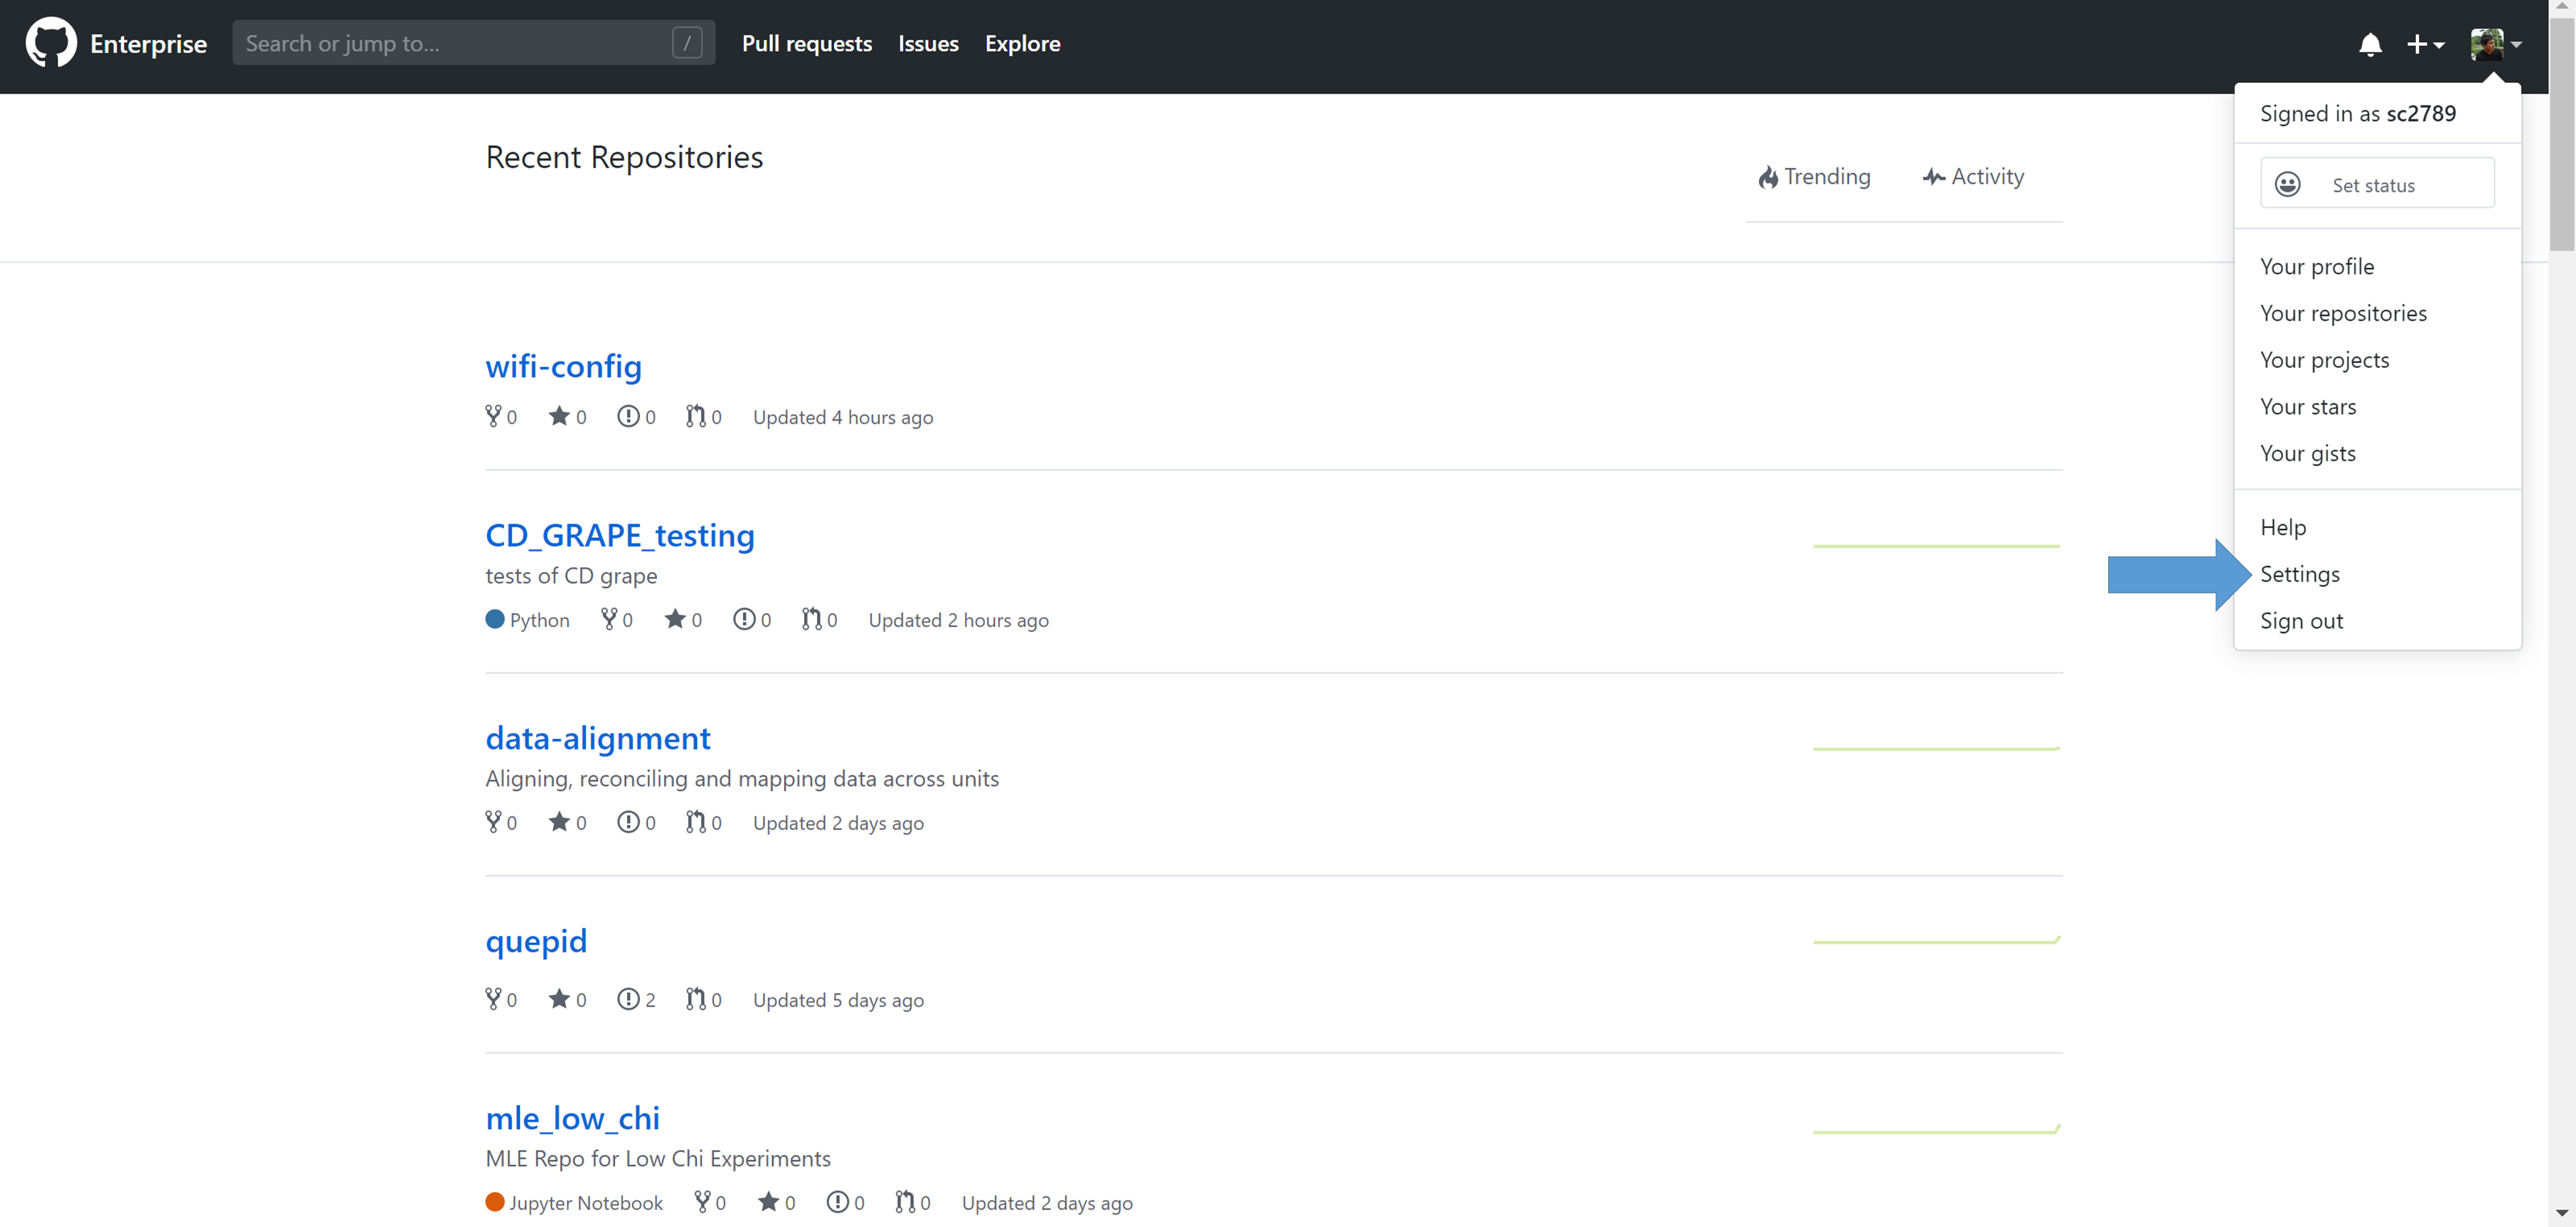
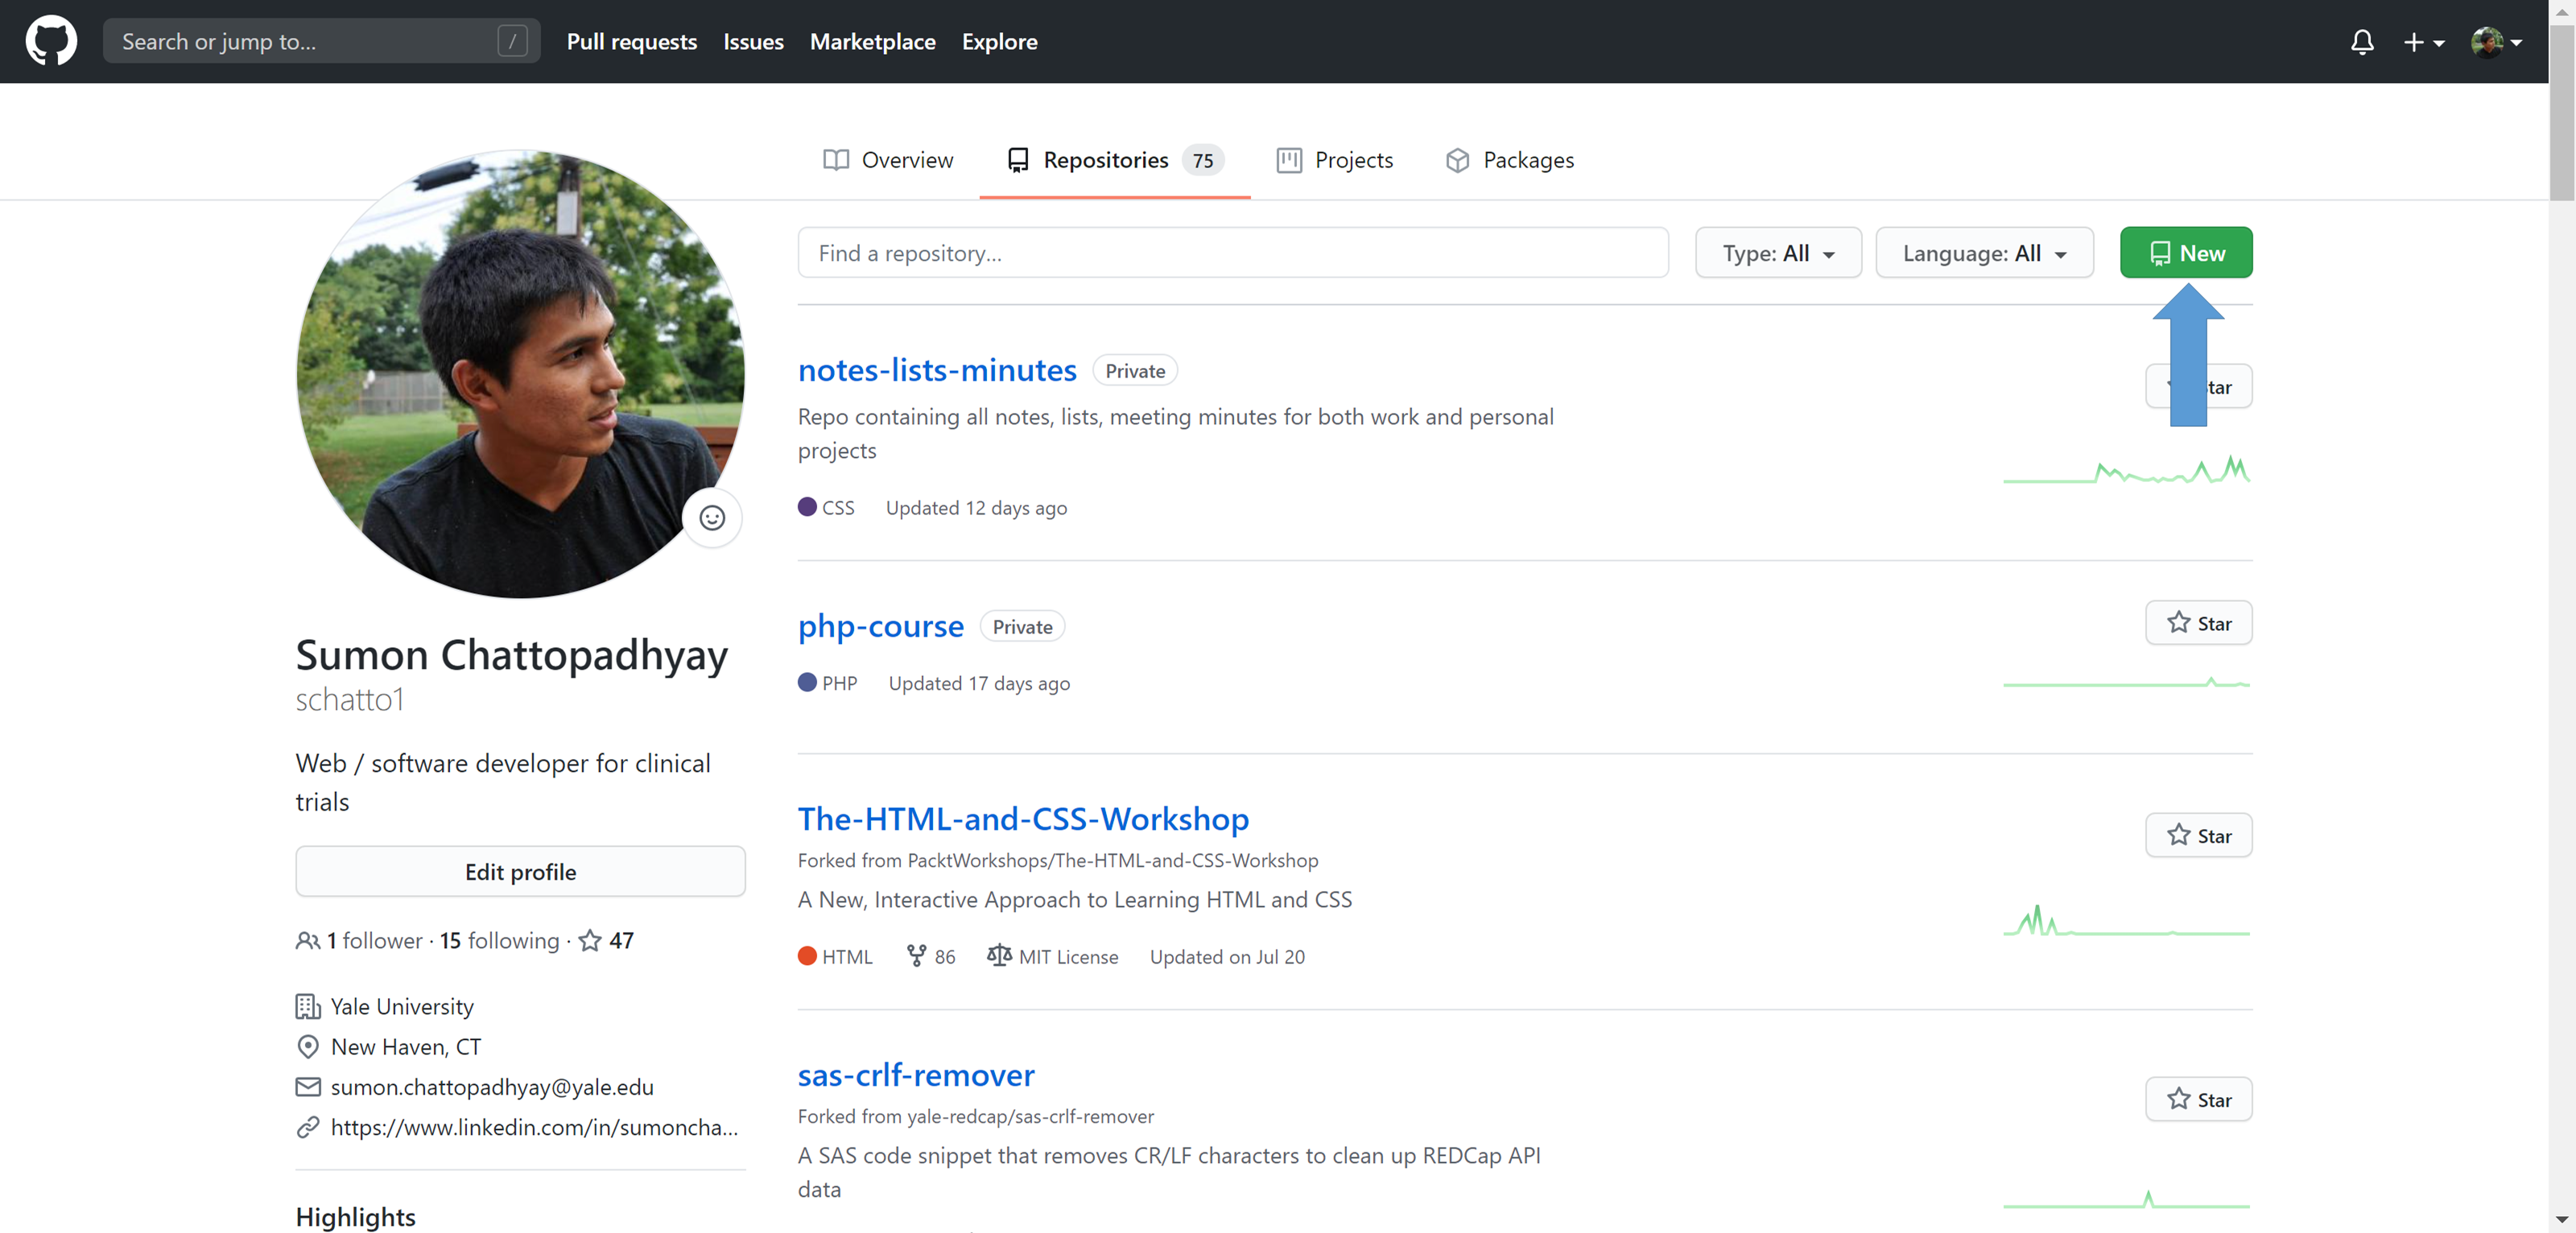
Once signed in, locate your public profile by selecting your avatar in the top right corner, and selecting Settings.
Setting up Git
Once you have your online account set up, you will need to download Git for your operating system:
- Windows: https://gitforwindows.org/
- Mac: https://git-scm.com/download/mac
- Linux: https://git-scm.com/book/en/v2/Getting-Started-Installing-Git
For Windows: run the downloaded executable and install Git onto your machine.
note
For Windows, I installed to C:\Users\<your netID>\AppData\Local to bypass needing administrator privileges. This also allows you to modify configuration files (such as .bashrc), which I was not able to when I installed to C:/Program Files.
Once installed, configure Git in the terminal with your name and email found on GitHub (which should be your Yale email) using:
git config --global user.name "Your Name"
git config --global user.email your.email@yale.edu
This sets your name and email for all Git contributions on this local machine.
You can also set up your name and email for specific projects by using git config without the --global option.
Creating a new repository
At REDCap@Yale, we use the "remote copy first" method to create new Git repositories. This method also lets GitHub create a README.md file for you when creating the repository.
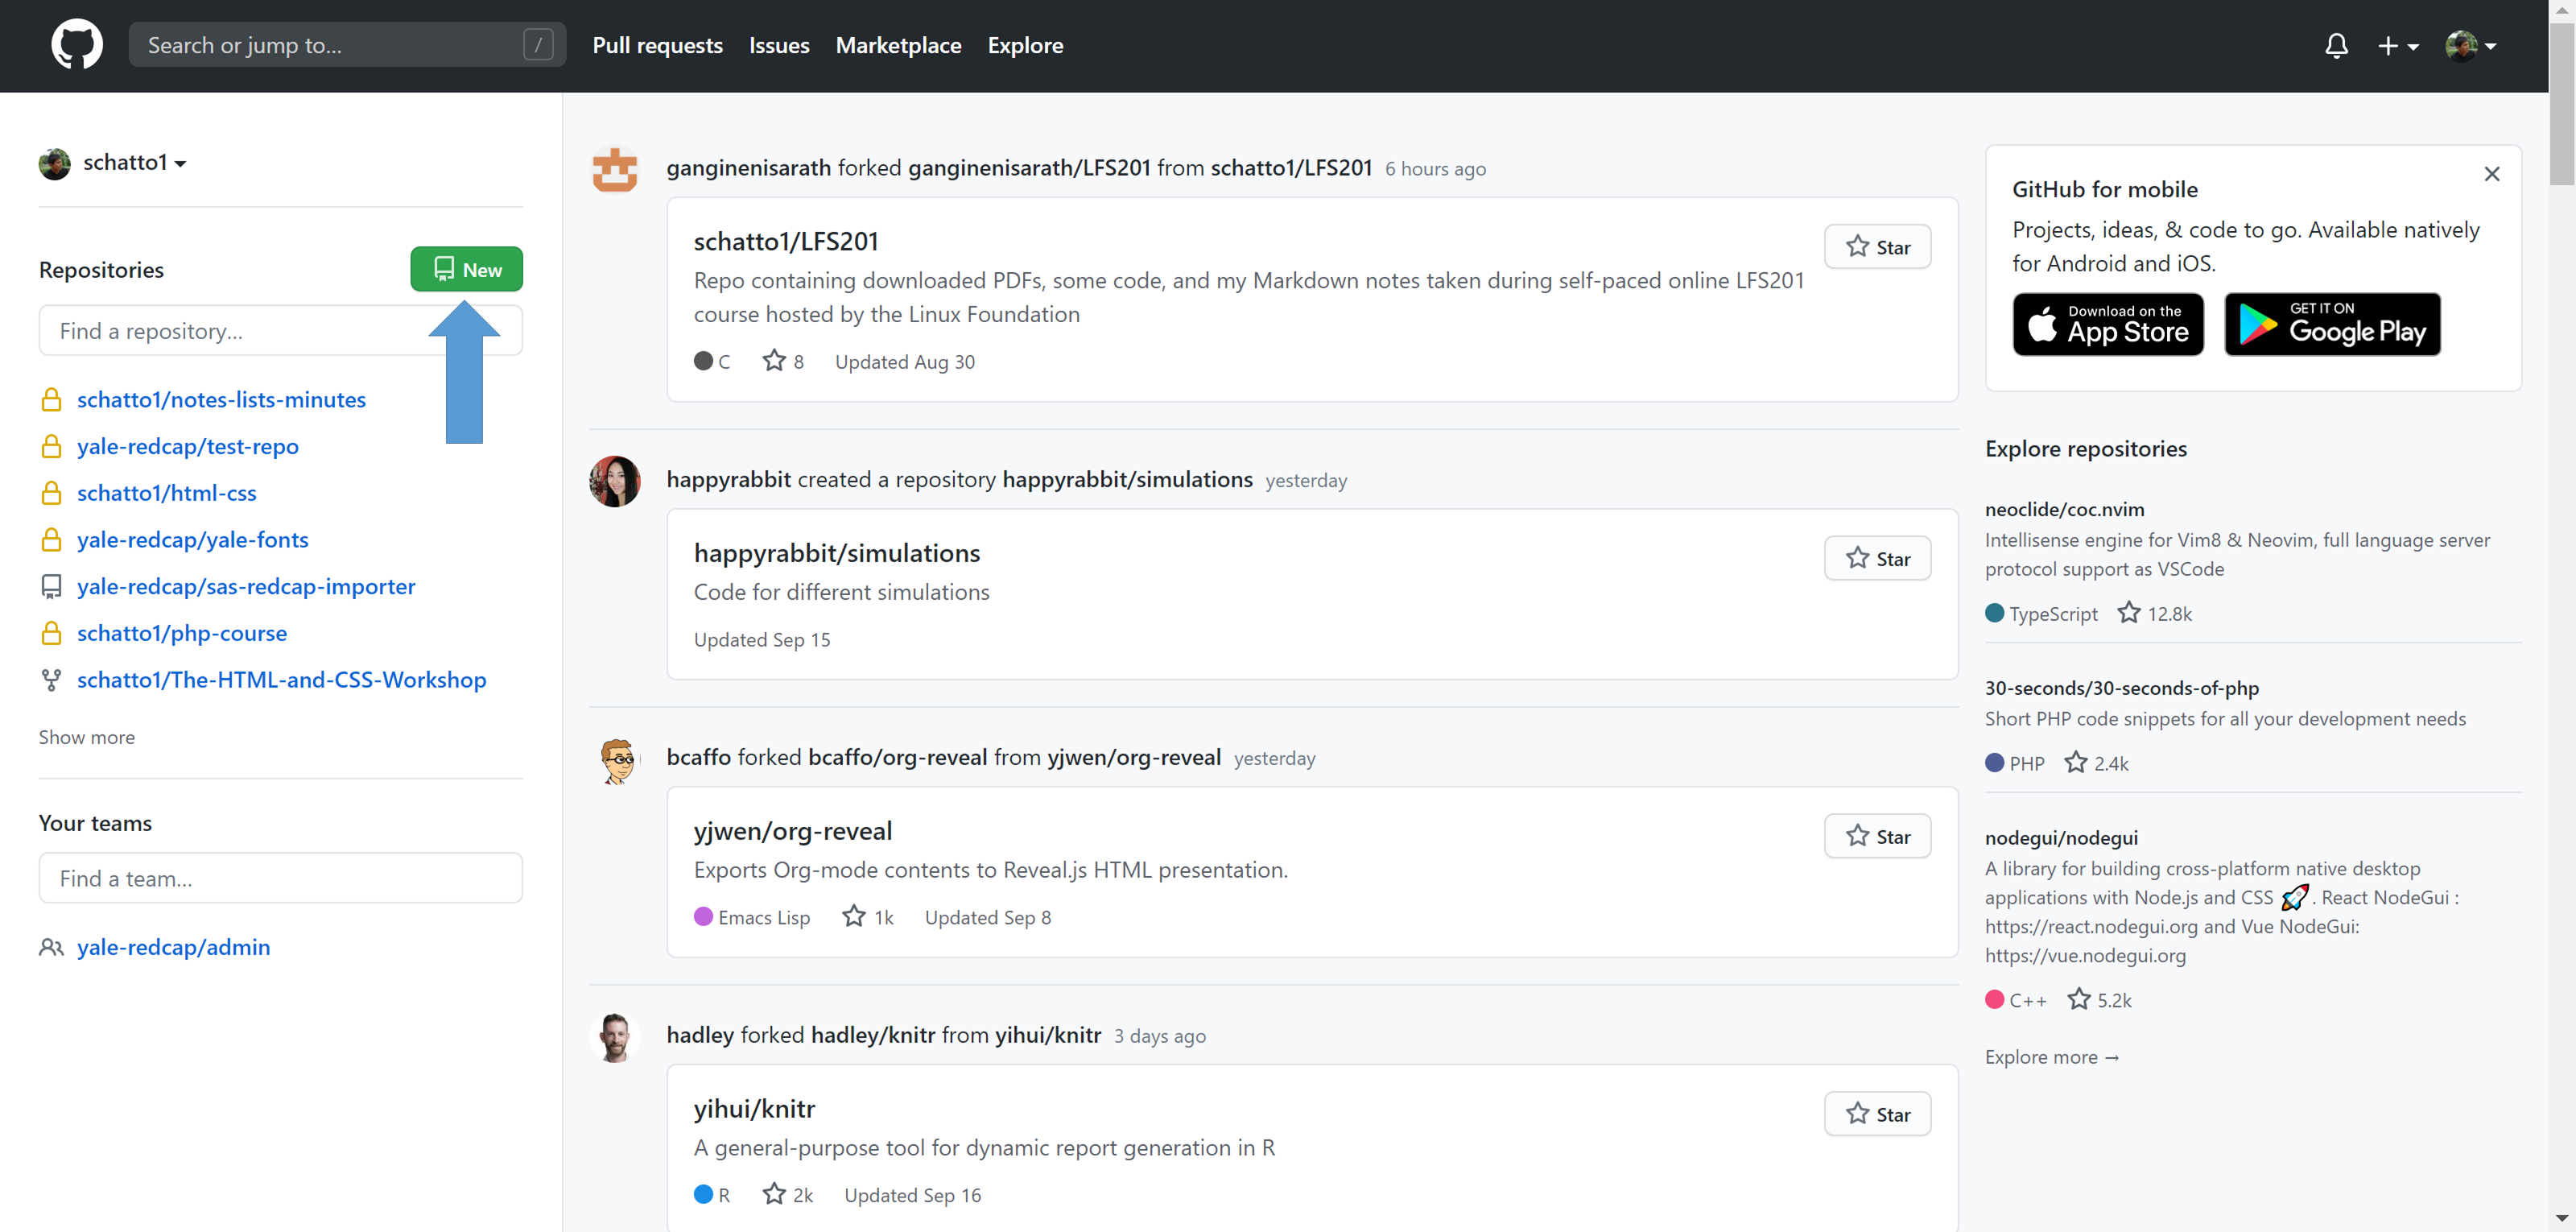
Remote copy first: Create new repository on GitHub.
Once created, copy the URL of your new repository by clicking the "Clone" button.
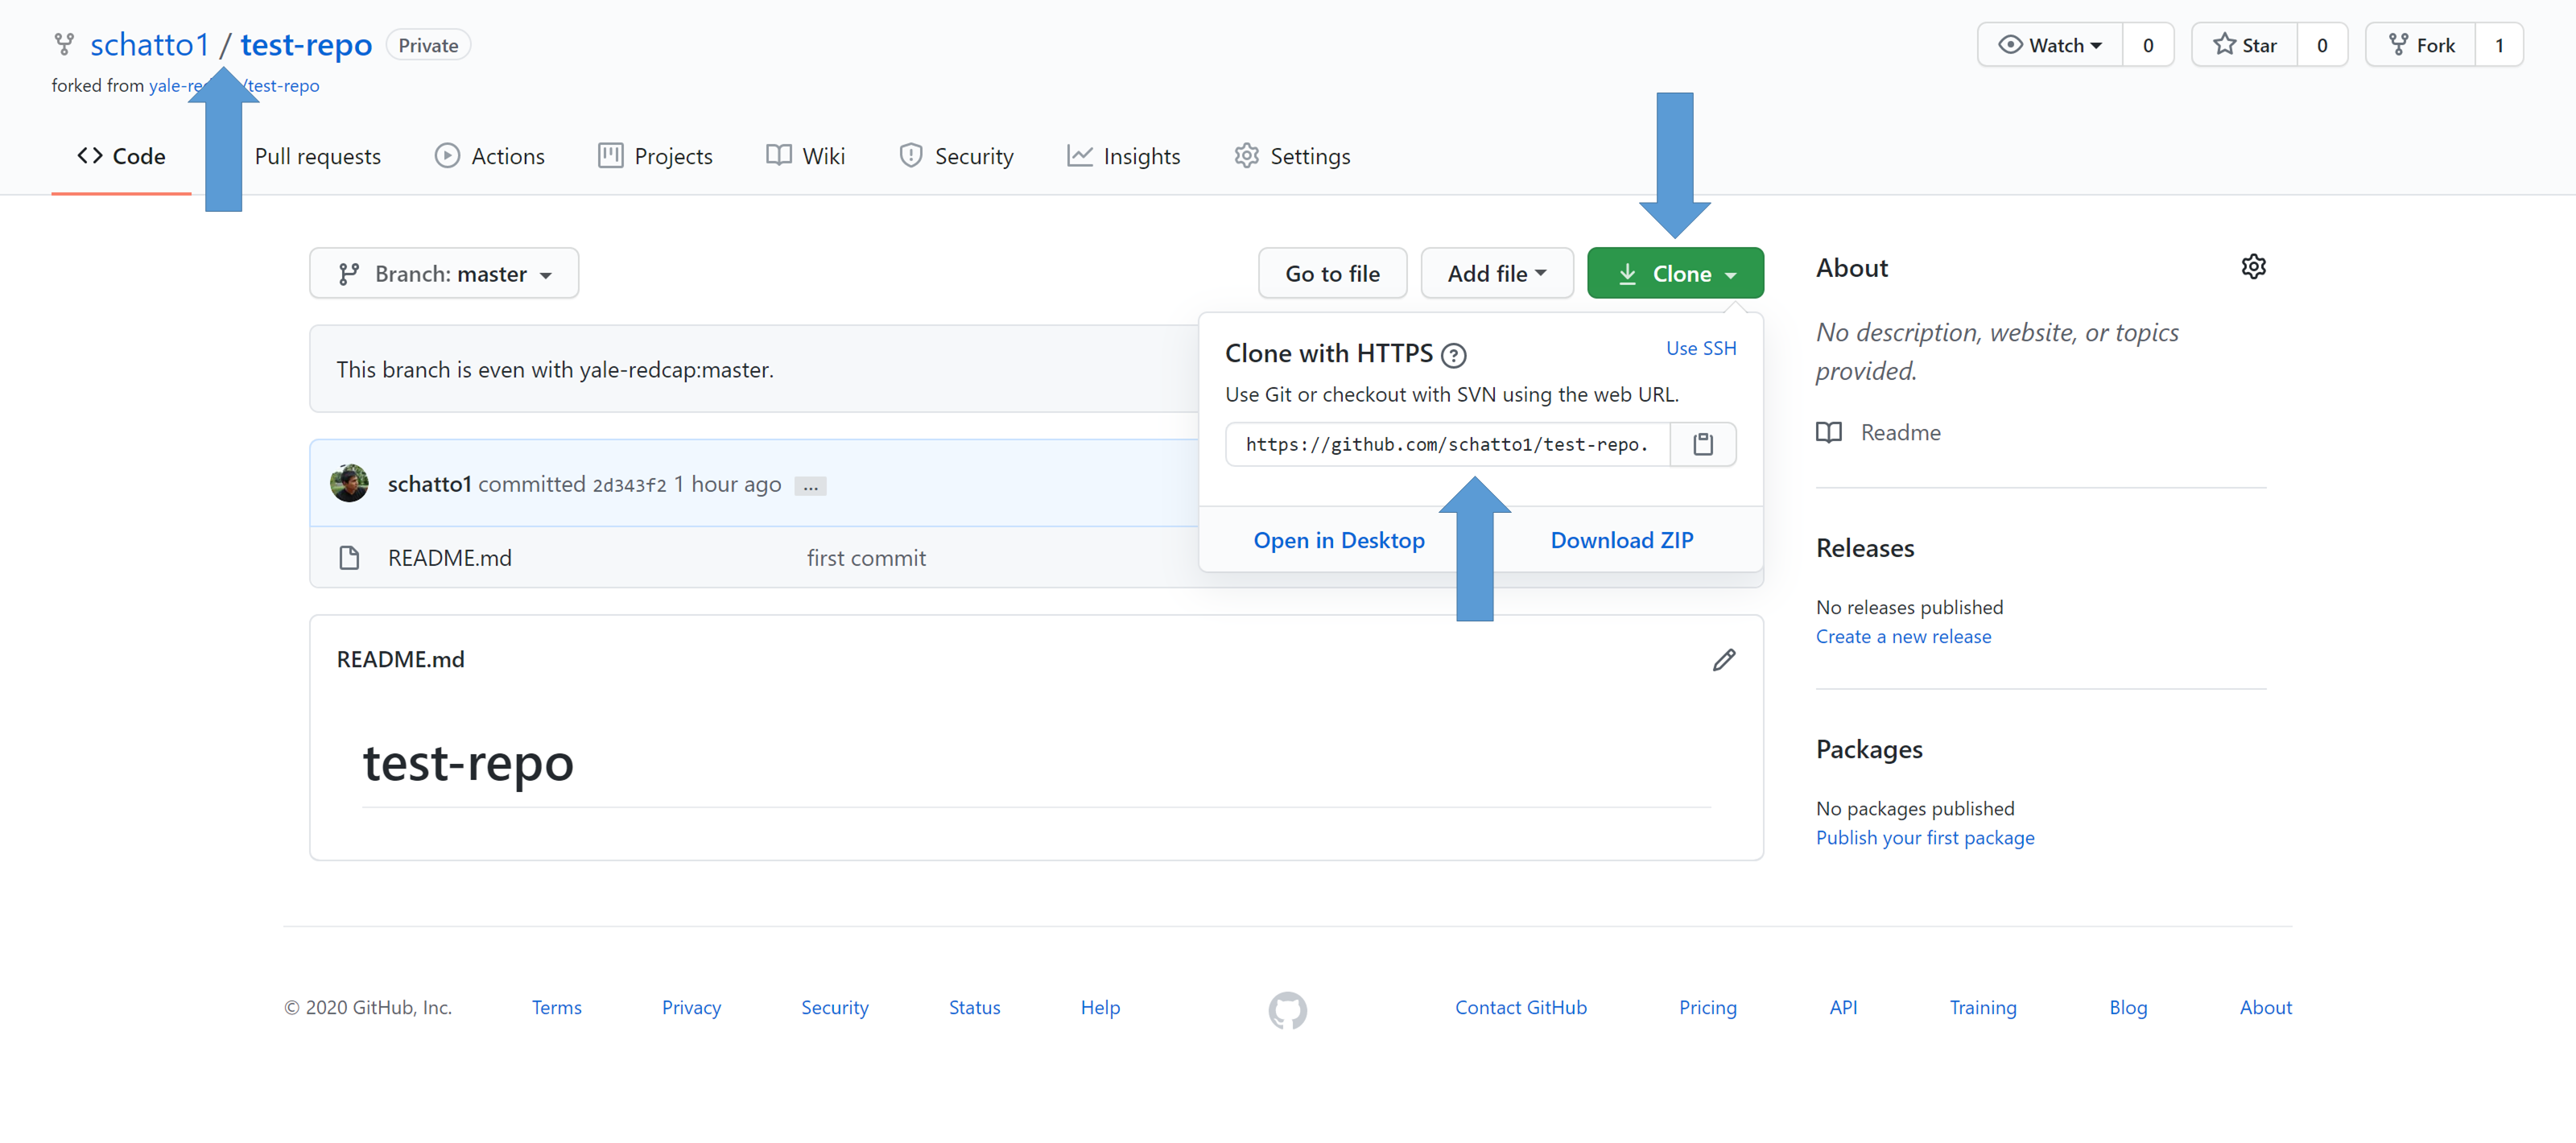
Then, on your command line,
cdto the location you want to create the directory, and:git clone <url>
Sometimes you may already have some code that you wish to upload to GitHub. In that case, you will have to link your local code with a GitHub repository. The steps are identical to the "remote copy first" method, except for the last step on the command line
Local copy first: Move into the directory that contains your project using
cd.Then, initialize the project as a Git repository with:
git initOnce initialized, link the local directory with your remote directory:
git remote add origin <url>
Now you have a repository to work with!
Using GitHub
Basic workflow
The general workflow is:
- Create a change in your Working Directory (local copy).
- Stage these changes to the Index.
- Commit these changes to HEAD (which points to the last commit you made).
Staging
You can stage changes you made to the Index with:
git add <filename>
which lets you specify the file you want to stage. Otherwise:
git add .
lets you stage all files with changes except the ignored files.
Staging allows you to pick and choose the changes that you want in a specific commit. You may have multiple files that currently have changes, but if the changes are not logically associated, you can split them into multiple commits by only committing the files that contain logically associated changes.
Committing
You can then commit these changes to HEAD with:
git commit -m "Commit message"
If you want to note down details of your changes and cannot fit them into one line, then you can:
git commit
and Git will open the text editor that you specified during your installation, where you can write a multi-line commit message in the editor. Git Bash will wait until you close your text editor instance (if using text editors such as Atom or Sublime Text). If you prefer staying in the terminal, you can change the default editor to either vim or nano with a config command:
git config --global core.editor [vim / nano]
Notes on commit messages: Try to construct commit messages as descriptively as possible with present tense verbs. "Fix things" is not a good commit message. Instead, opt for, for example:
Fixes A1 issue reported by user B2 using C3 feature

Adds D4 routine to circumvent E5 function
Removes E5 function as no longer needed
Adds comments to clean up code
where the first line gives a general description of the commit, with following lines elaborating on the changes. Of course, if it fits in one line, a one-liner is fine. Further information can be found in the coding standards section.
Before you push a commit to the remote repository, it is possible to edit it. This can come in handy when you want to alter the commit message or realize you have to add additional files. Stage the commit as before but add the --amend flag to alter the last local commit:
git commit --amend
Pushing changes to your remote repository
Change are now committed to HEAD in your local Git, but your remote repository has no idea about these changes. You can send these changes to the remote repository with:
git push origin main
origin is your remote repository, and main is the branch you want to push your changes to. You can push changes from any branch that you want. It is good practice to specify the branch you're pushing, just to make sure you're pushing the right branch to GitHub.
Resetting local changes
What if you made changes that broke things or you no longer want to keep?
You can revert back using:
git checkout -- <filename>
which replaces the changes in your working directory with the last commit in HEAD. In this case, newly created files and changes already staged to the Index will be kept.
If you just want to revert to the last status saved in the remote repository (and drop all of your local changes and commits), you can do this with:
git fetch origin
git reset --hard origin/main
fetch only lets the local Git know of the status of your remote repository, but does not actually make any changes to your local repository. reset makes the changes.
Branching
So far we've been committing all of our changes to the main branch. This is not an issue for personal projects or simple projects involving a small number of developers. However, it is good practice to create branches to keep track of your workflow.
At REDCap@Yale, we treat the main branch of the central repository as the "bleeding edge" version of the software, where all bug fixes, new features, and enhancements will be centrally incorporated. Various releases and versions will be created by branching off of this main branch. For example, you may create a production branch that only contains the code present in the current version of the software that is used in production.
You can see all the branches your repository has with:
git branch
You can create new branches with:
git branch <name>
You can then switch to this branch with:
git checkout <name>
If that seems tedious, you can also create a new branch and immediately switch to it using:
git checkout -b <name>
The branch is only available on your local Git. To make is available to others, you will have to push the branch to GitHub with:
git push origin <branch>
You can always return to your main branch with:
git checkout main
You can delete a branch (and all of its associated commits, so be careful!) with:
git branch -d <name>
Merging
So what do you do when you have new features in a branch that you want to move to main? This is when you merge the branches.
You can do this by moving into your main branch with git checkout main, then:
git merge <branch>
where branch is the branch you want to pull updates from.
Note: Make sure you're in the branch you want to merge the changes to before using merge!
In most cases, main (or the branch you want to merge to) does not have any changes, and Git does a fast-forward auto-merge that sets the HEAD of main to the HEAD of branch.
Note: A fast-forward merge is treated as if the branching never happened. For example, if you merged branch with changes into main, it is treated as if the changes were directly done in main. To make sure Git keeps the branch, use the --no-ff option, which causes the merge to create a new commit object.
You can then stage and commit this edit with:
git add <filename>
git commit
and Git will commit the merge as a new commit.
If you want to see the differences in the files before doing a merge, you can use:
git diff <source> <target>
to see how the branches differ, where source is the branch you want to merge from, and target is the branch you want to merge into.
It is good practice to periodically make sure your local copy is up to date with your remote repository. You can do this with:
git pull
This fetches and merges remote changes into your working directory. Here, the same conflict resolution method is applied as manual merges, and Git will handle it automatically if there are no conflicts.
Merge Conflicts
However, sometimes both branches have distinct changes, and this results in merge conflicts.
In this case, Git will highlight the conflicts in the files, and you will manually be able to edit the files to choose or merge the conflicting changes.
Each merge conflict will have two sections:
- The section starting with
<<<<<<< HEADwill contain the version in the local branch, and - The section starting with
=======will contain the version in the merge branch.
>>>>>>> and the hash identifying the commit for the merging branch signifies the end of that specific merge conflict. You may have multiple conflicts in the same file.
You will have to choose which version of the merge conflict to keep in each file with merge conflicts, and then stage and commit the changes.
Log
Now that you have all these commits and changes, how do you keep track of all of them?
git log
lets you see the history of a repository.
git log has many options that can help you out. Some favorites:
--author=<author-name>: shows only the commits from a specific author--pretty=oneline: shows each commit on single line--graph --oneline --decorate --all: shows a visual tree of all the branches and their commits within your terminal--name-status: shows the files that have been changed in addition to normalloginformation
Tagging and Versioning
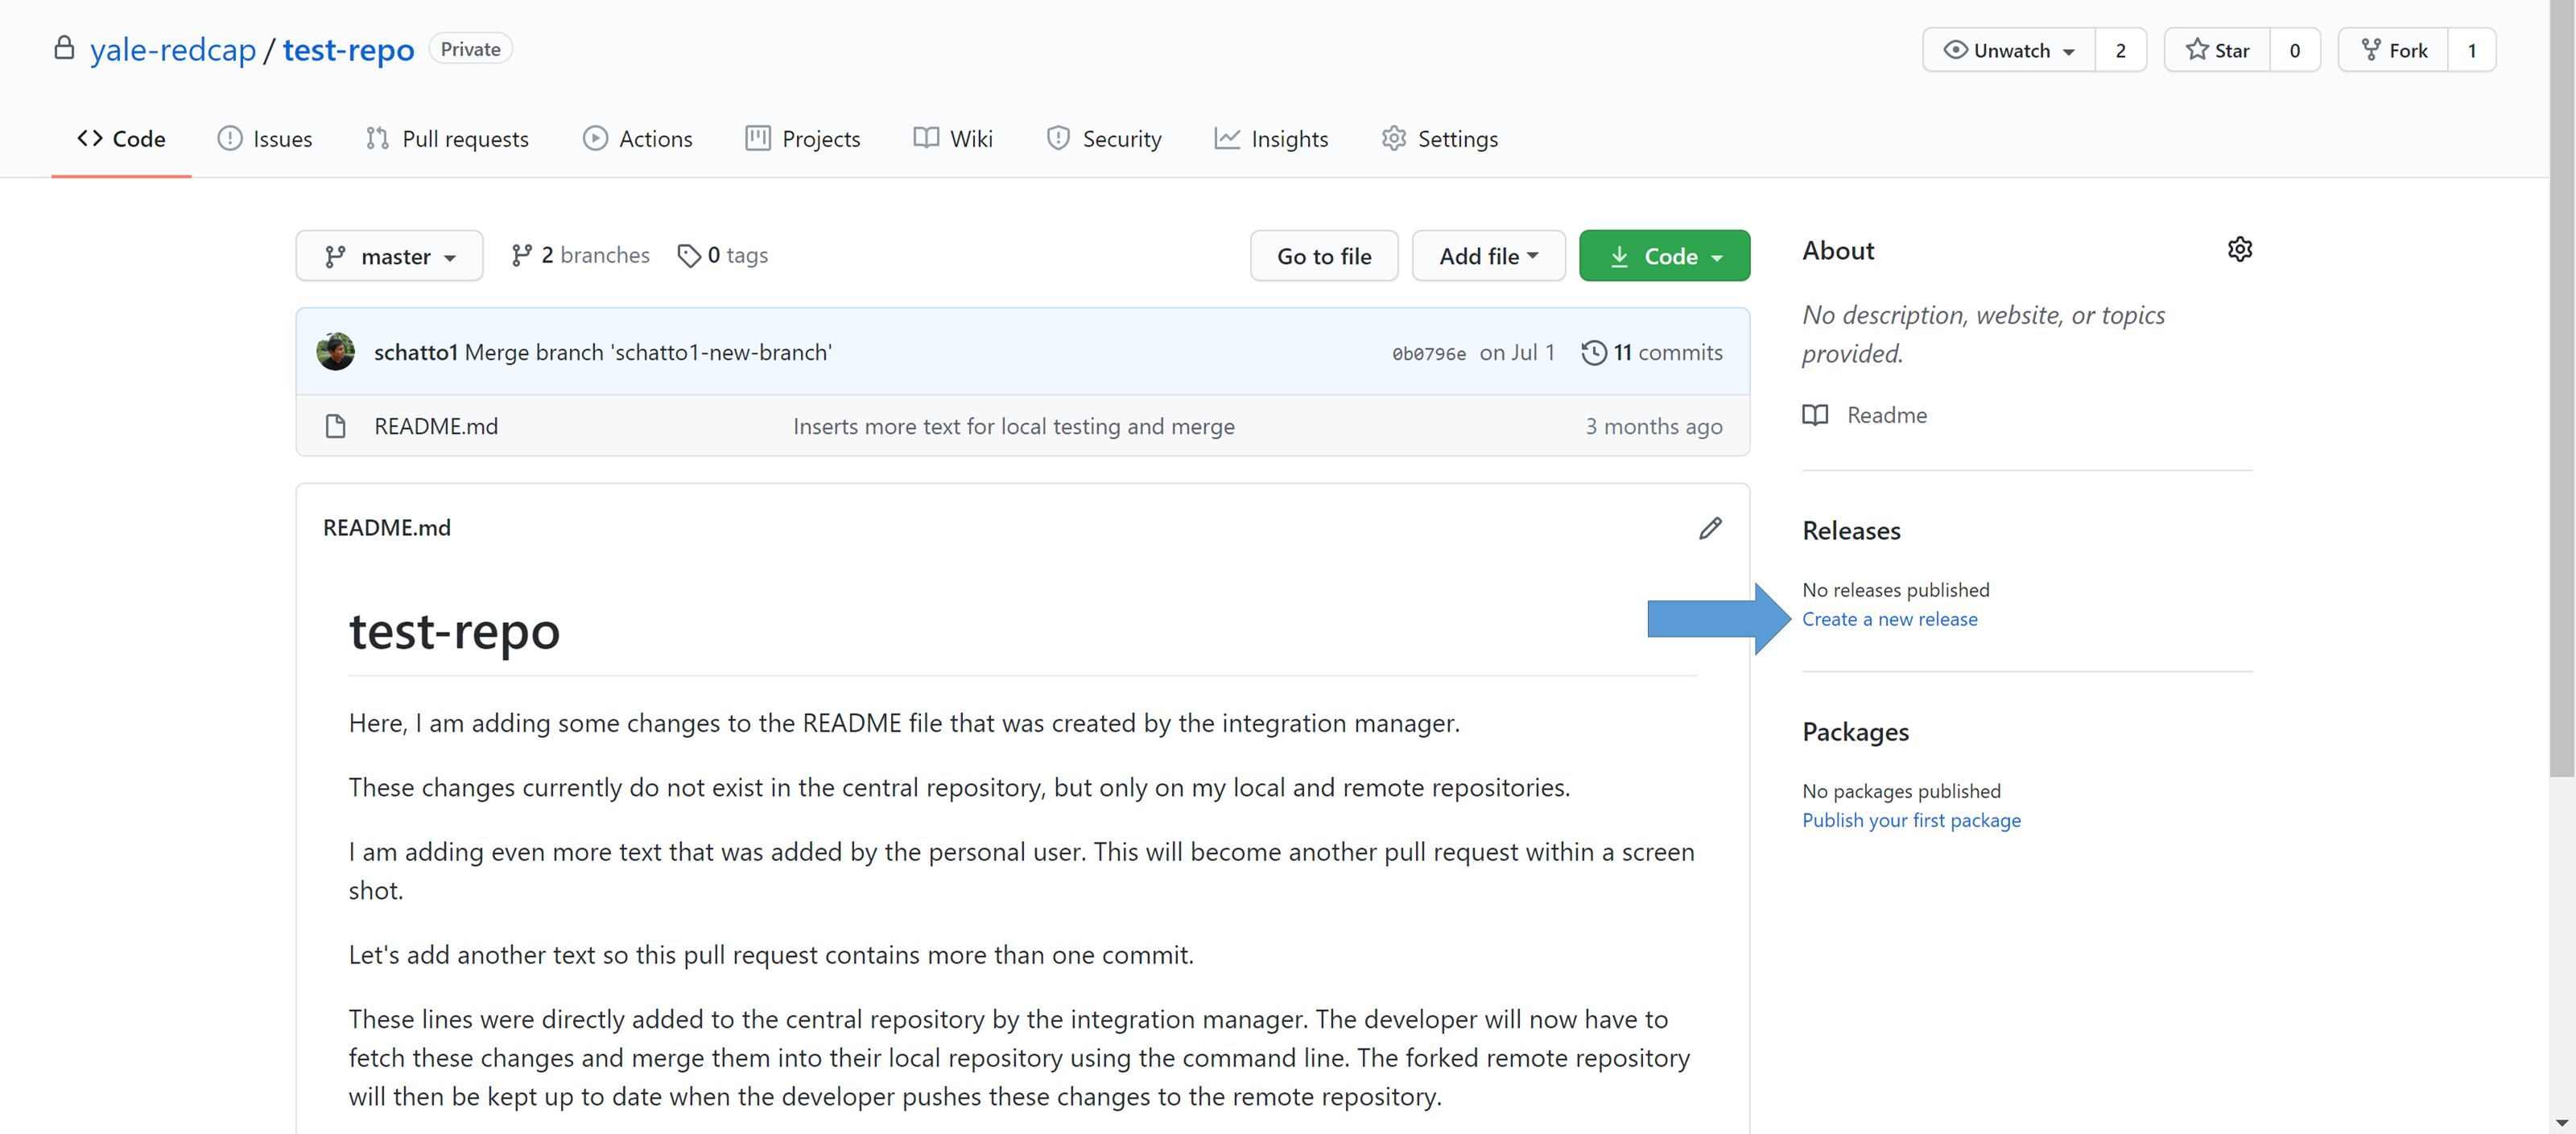
When you have a sufficient number of changes/features, you may want to version your software to let others know the status of your production releases. This is especially important for REDCap@Yale developers, as REDCap External Modules have to follow a distinct semantic versioning style for the REDCap server to recognize and utilize the modules.
You can do this in GitHub by clicking on "Create a new release":
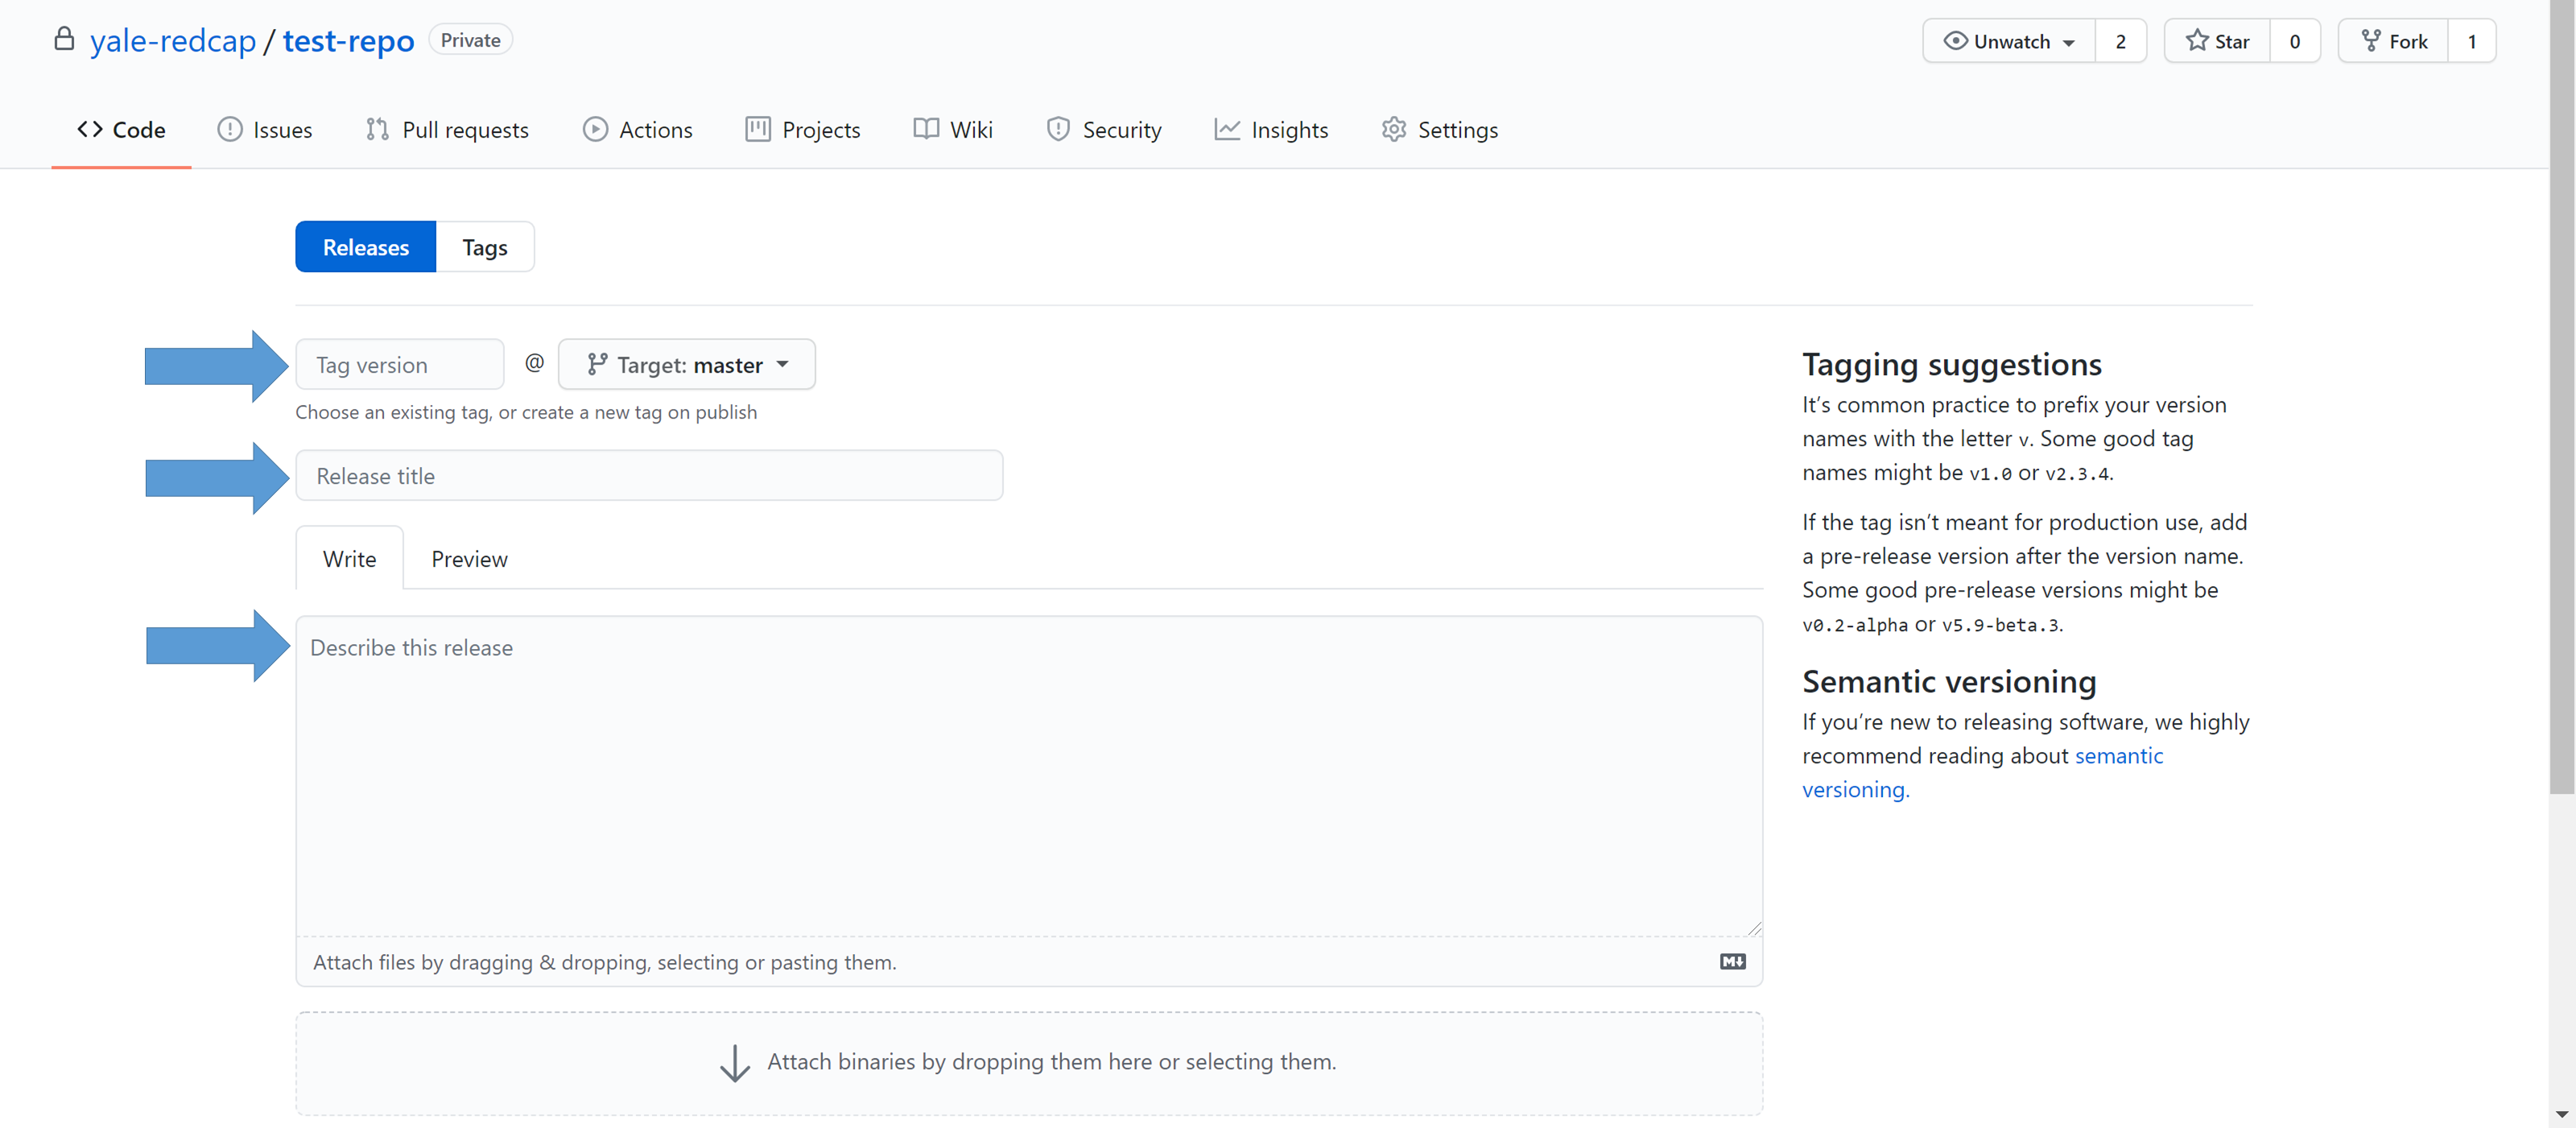
You can then enter the version that you want this release to be associated with, type in a one-liner explaining the release, and also write down a detailed description of the release:
Advanced Technique
Git Preferences
git config contains all of your settings for Git. git config --global --edit lets you open the Git configuration file and make changes that apply to all of your repositories. Make sure to make a copy of your original configuration file before making changes so you can revert back to the original in case you break things.
Some example git config changes:
color.ui true: lets you use colorful Git outputsformat.pretty oneline: shows log with just one line per commit by default
Bash/terminal Preferences
.bashrc located in /etc/bash.bashrc (for Windows) contains all of your settings for Git Bash (for Windows) and how Git looks in your terminal (for Linux and Mac). If you don't like the way the bash shell or terminal looks, this is where you can make modifications. As always, make sure to make a copy of your original bashrc file before making changes so you can revert back to the original in case you break things.
Ignoring Files
If you have files that you do not want git to add automatically or report as untracked, you can add them to .gitignore. Such files are usually generated files, such as logs, executables, or compiled files. Files already tracked by git or explicitly added are not affected. Each line of the file specifies a pattern, directory, or paths to files that should be ignored.
Some examples:
*.owould ignore all files end in ".o"logs/would ignore the "logs" directory and anything contained inside
Full details of patterns and precedence can be found here.
Tagging in Git
Earlier we showed that you can create new releases and versions within the GitHub web interface. You can do the same within the command line using Git.
You can tag your current/latest commit with:
git tag 1.0.0
You may have also noticed the long commit IDs such as 8e67a543302cb6b4472f41b28df8c5d43241c866 while using git log. These can be used to tag specific commits that you've already past.
git tag 0.1.0 8e67a54330
lets you tag commit 8e67a54330 with the version number 0.1.0. You generally don't need the entire commit ID, just the first 10 characters.
git push does not upload tags to the remote repository by default. You will have to use:
git push origin <tag>
to push specific tags to GitHub.
If you have a lot of tags:
git push --tags
lets you push all of them to the GitHub.
A more in-depth explanation of tagging in Git can be found here.
Additional Help
Resources
Git has a free online book that is very useful and should be your go-to reference when you have questions about using Git for version control.
This guide was largely based on:
- git - the simple guide (warning: one NSFW word at the very beginning)
with some additional detail added on.
The Ultimate Beginner Git Cheat Sheet goes into more detail once you're a bit more comfortable.
GitHub has a pretty useful cheat sheet.
The Git documentation is also very helpful when you want to know all of the options available to you while using a command. Using --help in the command line with git also takes you to the online documentation.
GitHub Help is a resource/guide for using GitHub.
Other resources I found by web searching while creating this guide:
- Understanding the GitHub Flow - GitHub Guides
- Medium article - "Follow these simple rules and you’ll become a Git and GitHub main"
- Using git in a team: a cheat sheet
- Youtube playlist created by GitHub, if you're more visual/prefer videos to reading
- Yale's guide to Git and GitHub
- GitHub at Yale vs GitHub proper
- maining Git course on Thoughtbot.com -> you'll need an actual GitHub account (not the Yale one) to access this
- Git-it -> an app created by GitHub to give you some hands-on tasks using git and GitHub
- Medium article - Proper git etiquette
- A successful Git branching model
- StackOverflow - Examples of naming conventions
- StackOverflow - Deleting branches locally and remotely
- Semantic Versioning 2.0.0
- Permission levels for a user account repository
- GitHub Gist - GitHub Standard Fork & Pull Request Workflow
- Distributed Git - Distributed Workflows
- Dangit, Git!?! -> a SFW version of a popular website that outlines fixes to mistakes and issues that you would want to fix in git
- GitCommitMessages -> outline of good practices when writing git commit messages
And as always, Google is your friend.