Appendix: Contributing to the Handbook
Author: Sumon C, March 8, 2022
tip
This section is for the developers and team members who have access to the handbook repository on GitHub. The following sections will outline the steps required to make contributions and future changes to this handbook.
If you would like access to the handbook GitHub repository, contact the admin team for the REDCap@Yale GitHub account.
note
The following tutorial / workflow was designed and envisioned for the "YES3 Flow" employed by the REDCap@Yale Developer team. Thus, if the team adopts a distinct software versioning flow in the future, the following sections may be irrelevant or require significant updates.
Getting your contributions ready
This section assumes that you are comfortable using Git and GitHub, and are familiar with the workflows that REDCap@Yale utilizes to develop and maintain sofware. If not, we recommend you read our orientation to Git and GitHub and the workflows for the developer and the integration manager.
We would also like to remind you of the conventions and standards we use to standardize communication between our team members during development.
We recommend that you make your changes in a separate git branch within your forked repository, as that specific branch will be associated with the pull request you will create.
Setting up your Docusaurus local environment
This section can be skipped if you've already installed the prerequisite tools to be able to build and test the developer's handbook on your local machine. Otherwise, each step will help you install the tools that will let you see the changes on your local box before pushing to the central repository.
Install Node.js
Docusaurus uses a Node.js backend. You can install this from their website.
Alternatively, you can install Node.js via your package manager, if you are comfortable with the terminal.
Install yarn
Once Node.js is installed, you should also have npm, the node package manager, installed on your machine. Use this to install yarn, a dependency manager:
npm install --global yarn
Alternatively, you can completely forego this step and simply use npm for every step that follows.
Start the localhost for testing
Once yarn is installed, you can start your localhost website:
cd developers-handbook (or the directory that the handbook lives)
yarn run start
Alternatively, if you do not have yarn installed:
npm run start
will do the trick.
By default, By default, a browser window will open at http://localhost:3000.
Pull requests to the central repository
Create
Once you have changes that are ready to be merged into the central repository from your forked repository, you will need to create a pull request.
When you have changes in your fork that are ahead from the central repository, there should be a header message within GitHub saying so. Select the Contribute button within that header, and then click on Open pull request.
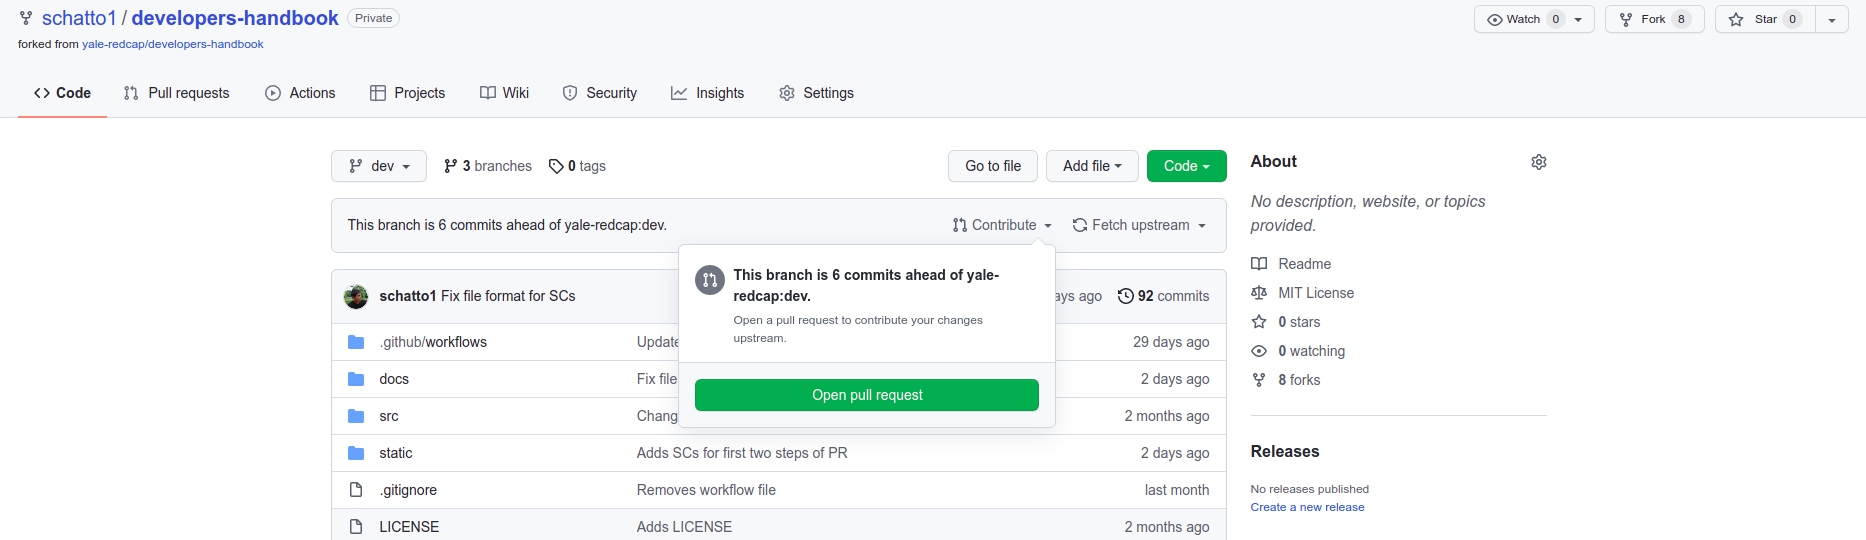
Once a pull request is opened, you will see a page comparing the changes between your fork and the central repository.

caution
Make sure that you are contributing to the REDCap@Yale central repository from your forked repository. The direction of the arrow in the webpage should make this clear.
![]()
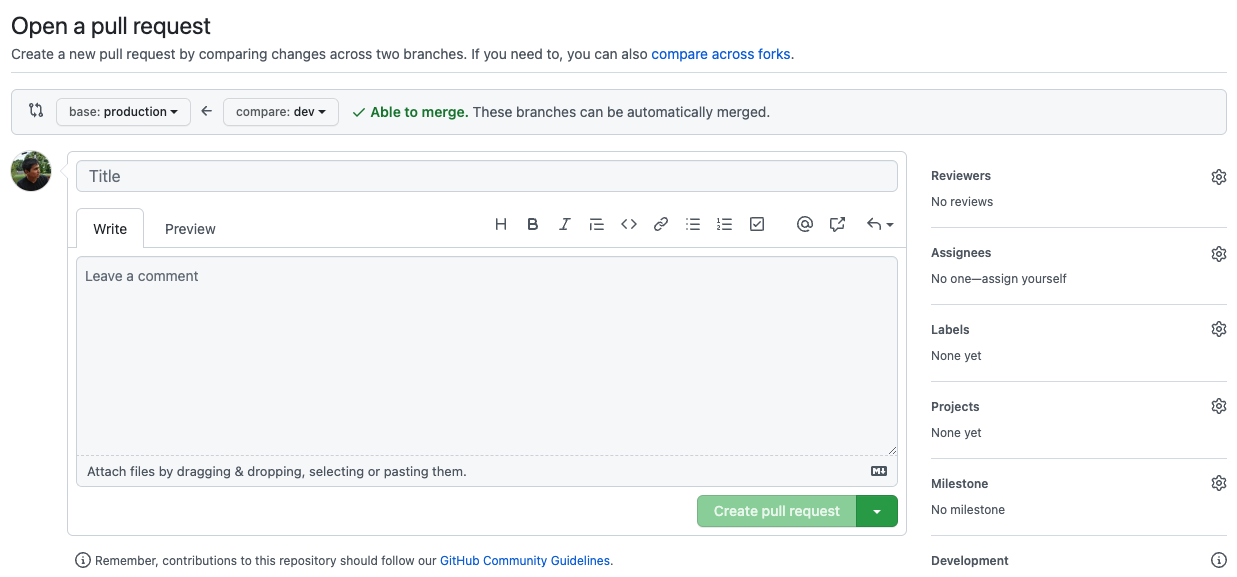
Select Create pull request. In the following webpage, you can give your pull request a descriptive title, and also enter any and all details that will help expedite the code review process.
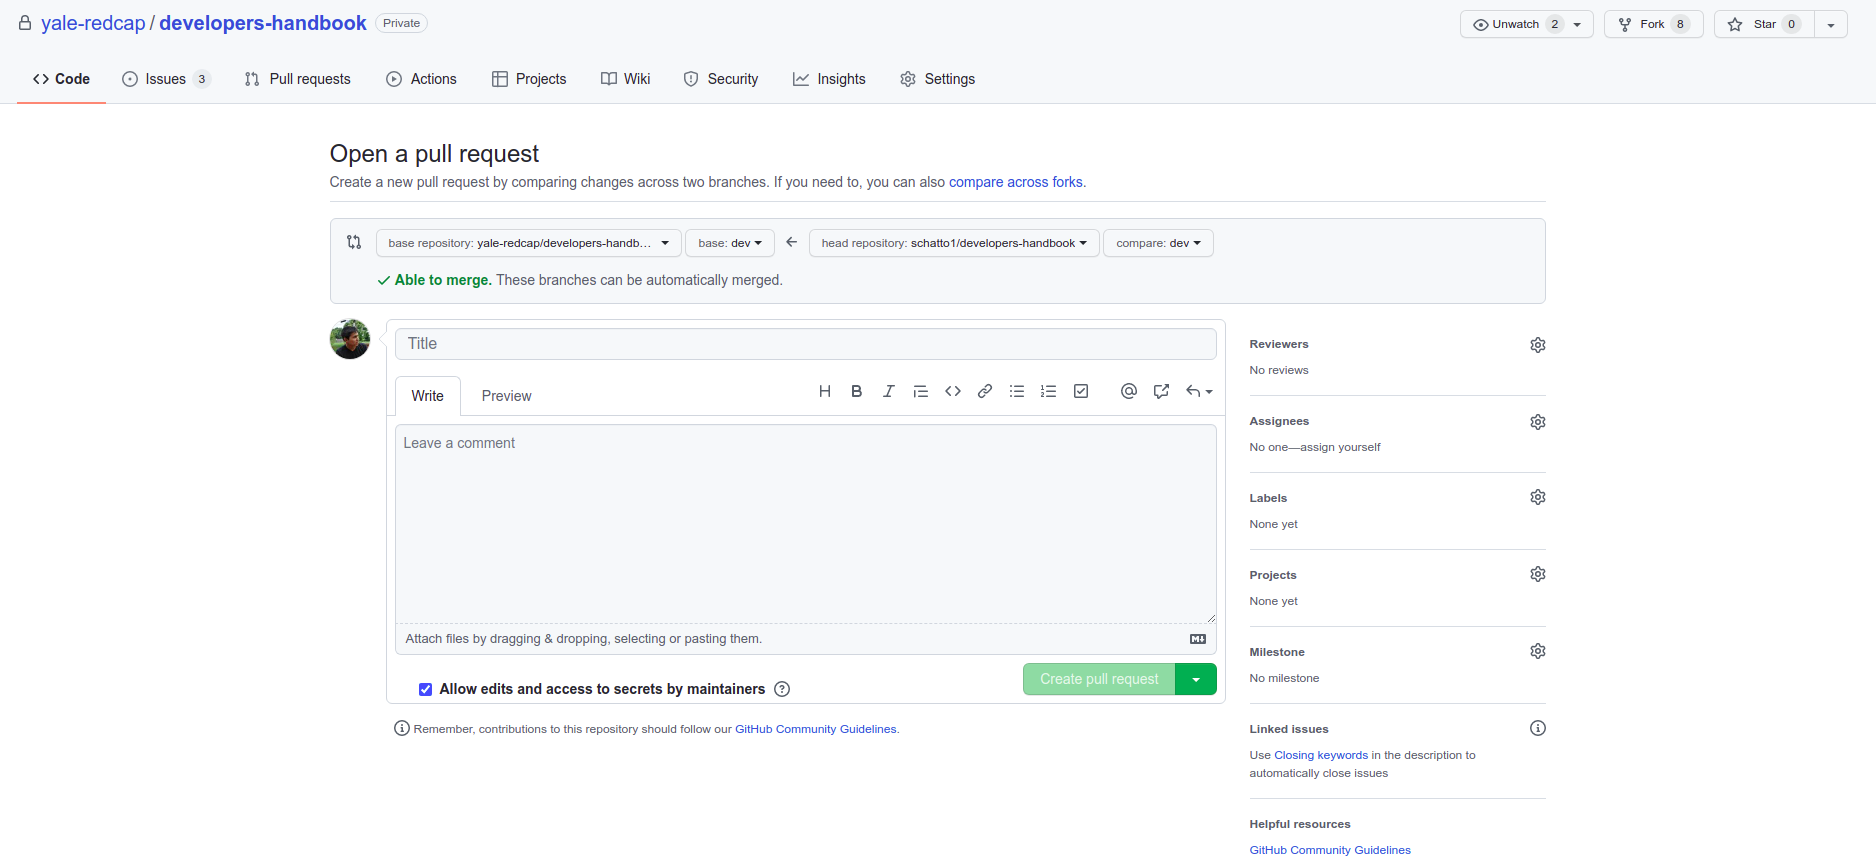
Select Create pull request.
You have now successfully created a pull request from your fork to the central repository!
At this point, an integration manager (a member of the REDCap@Yale team with write access to the central repository will:
- review your pull request, and
- merge your pull request into the central repository (if no further changes are required).
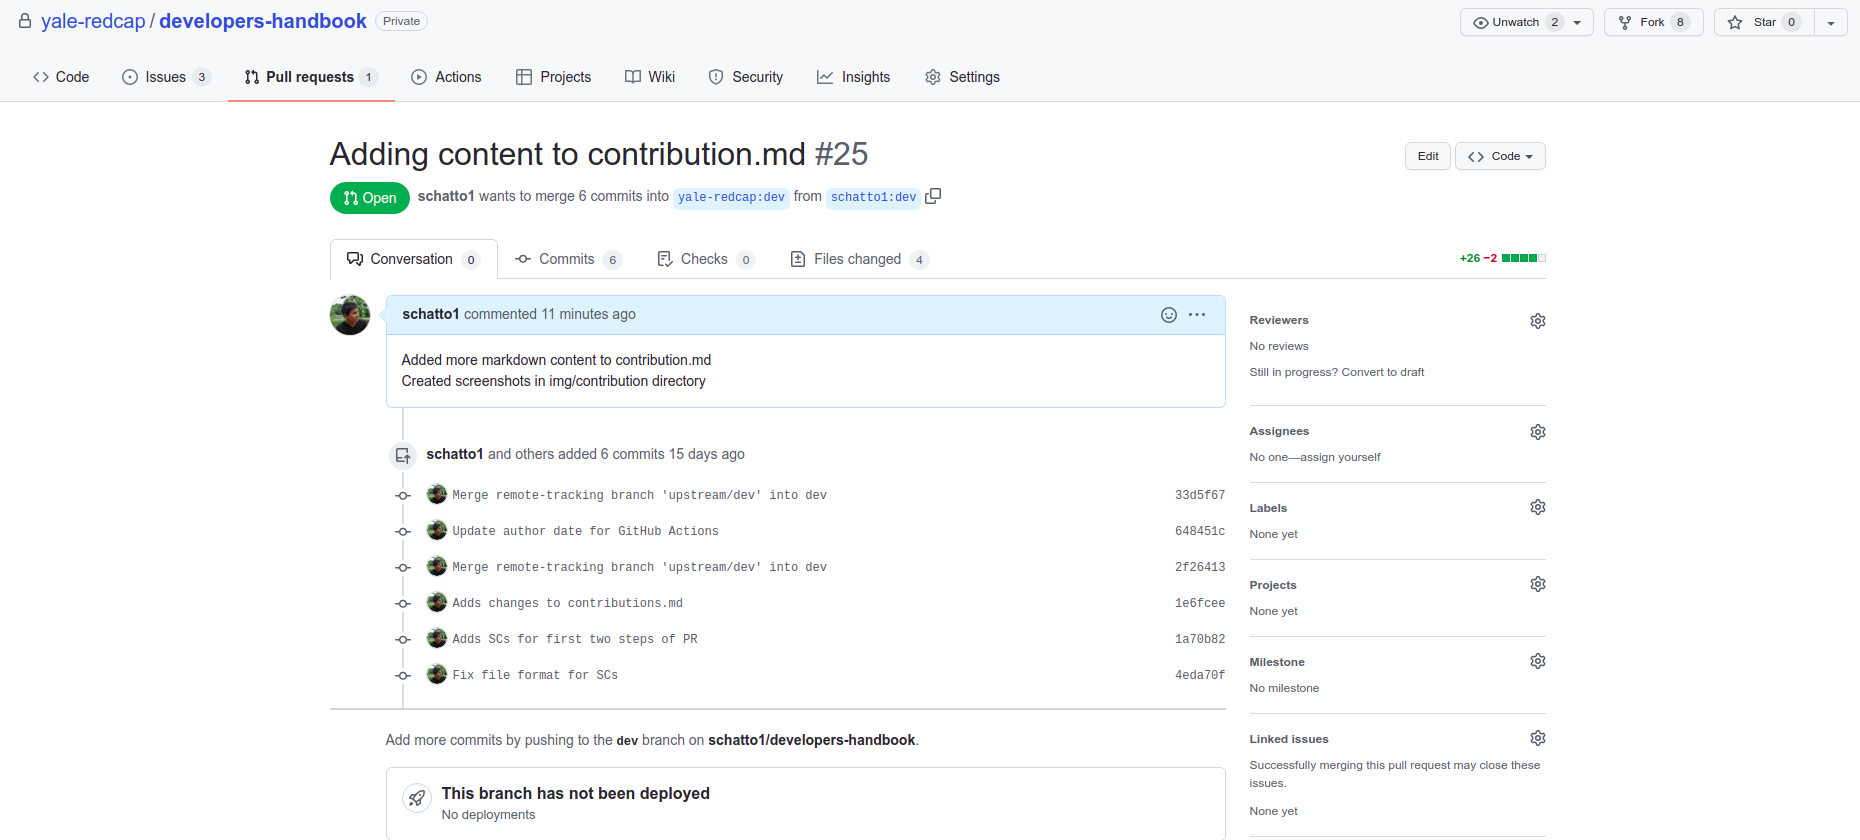
Review
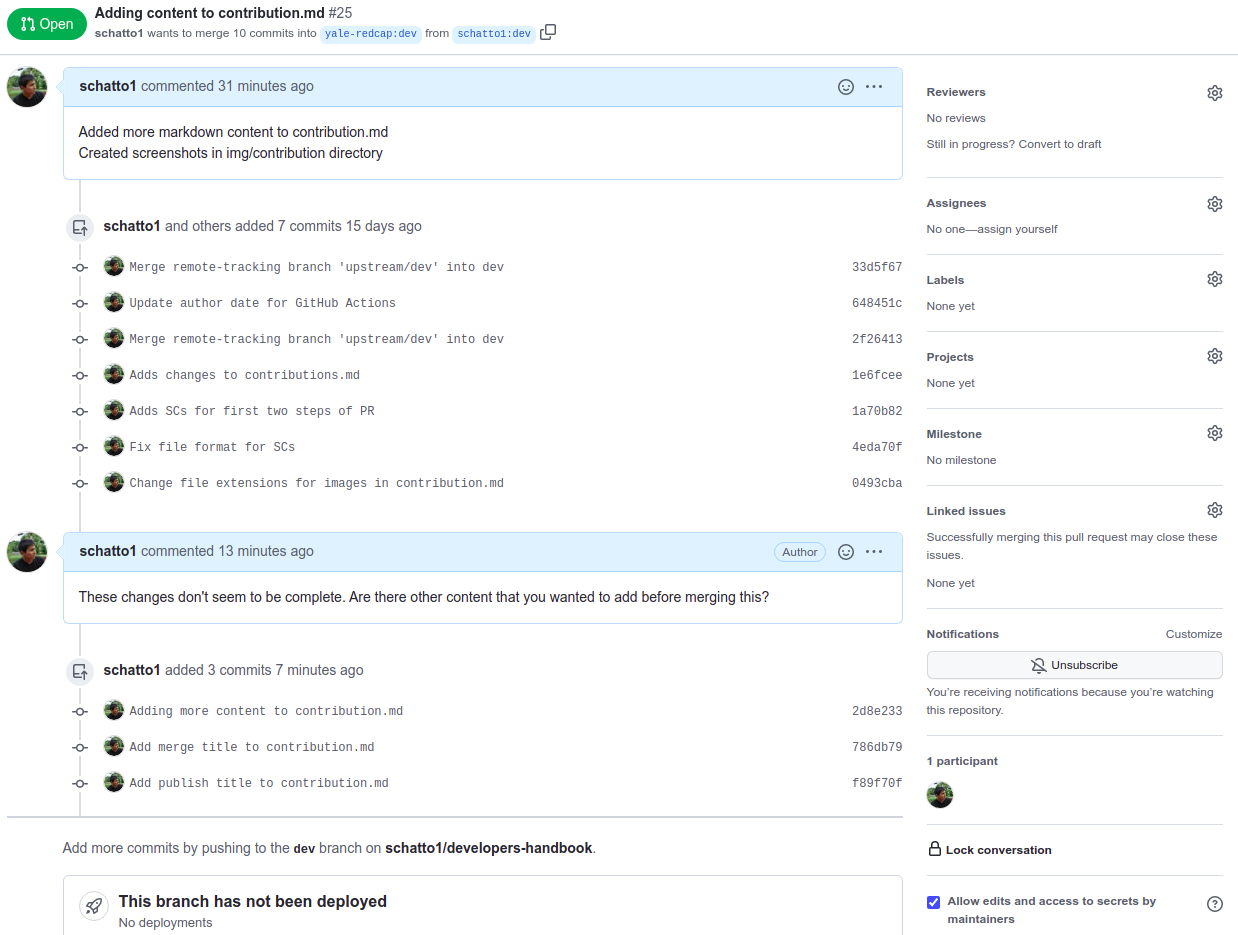
If the pull request is incomplete, or there are certain modifications that can be made to enhance the pull request, a code reviewer can enter a comment within the pull request.
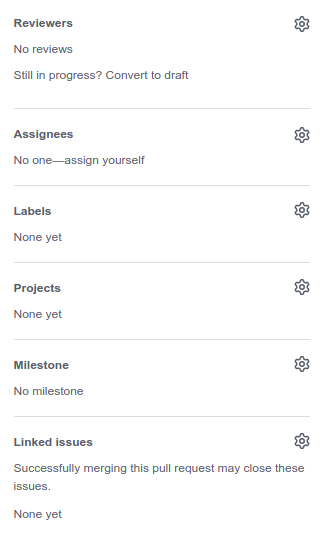
Anyone associated with the pull request, or with write access to the central repository, can also click on the "gears" on the right hand side of the pane to assign this pull request to a specific developer, add labels and tags, or link this pull request to an open issue associated with the repository.
Update
If further changes are required, you can update the pull request by pushing new git commits to the same branch associated with the pull request.
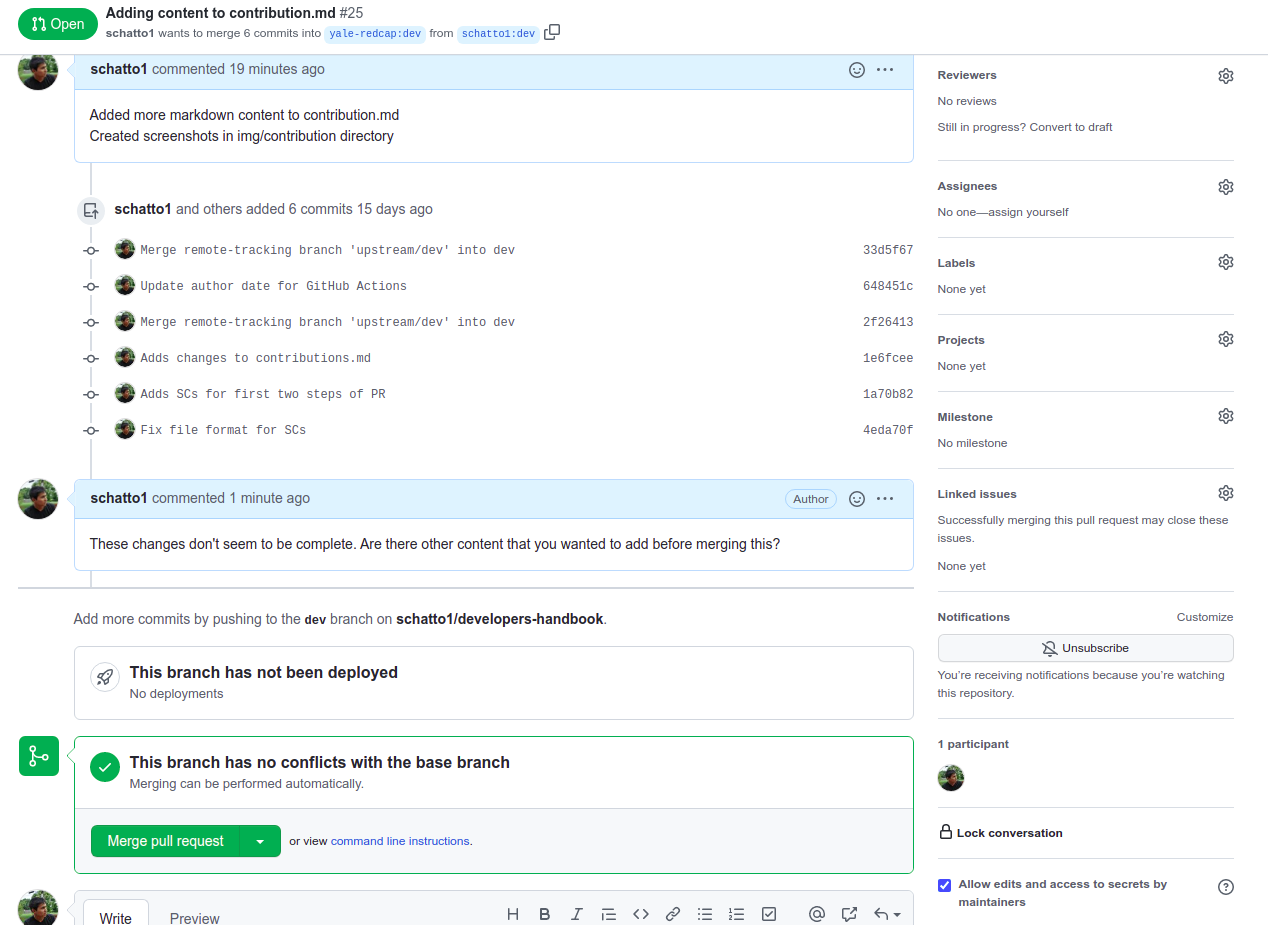
Merge
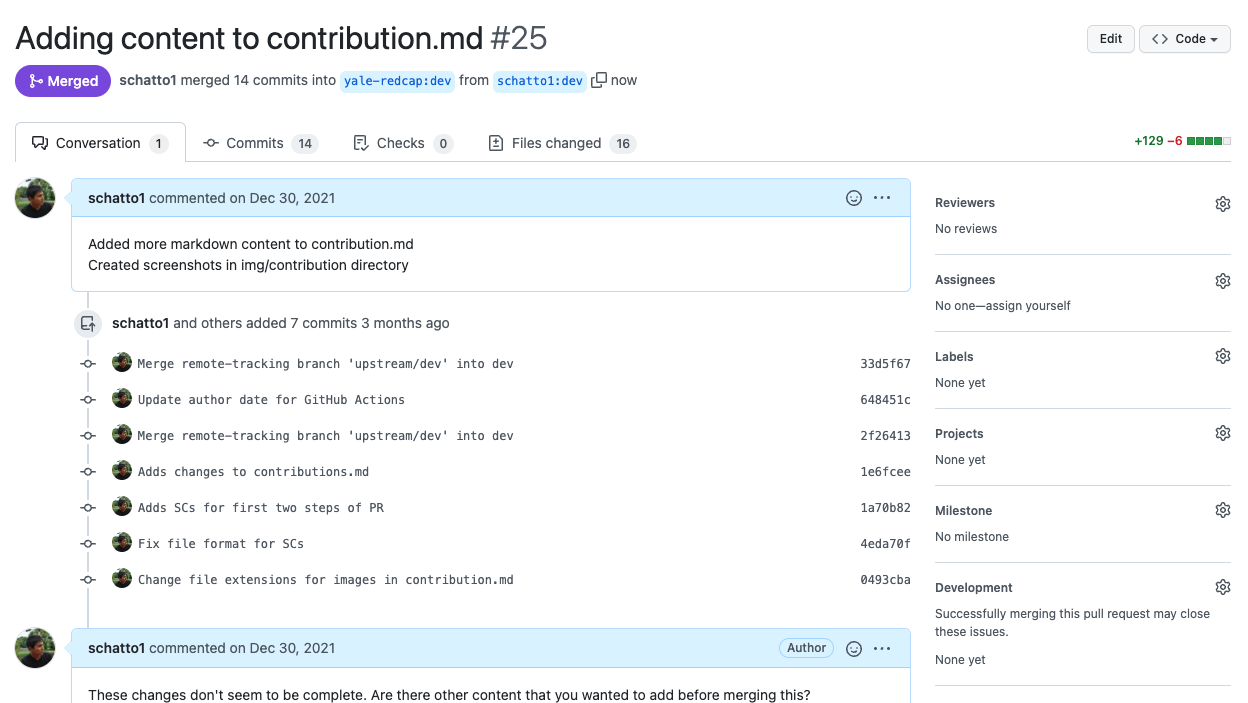
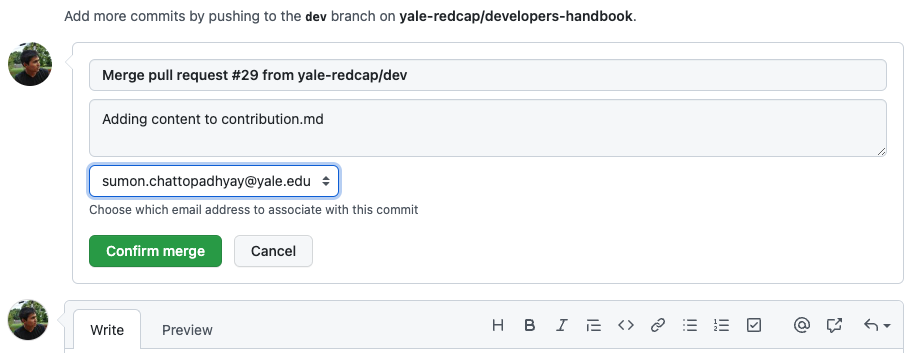
Once the pull request from the forked repository is ready to be merged into the central repository, a developer with write access to the central repository can click on the Merge pull request button.
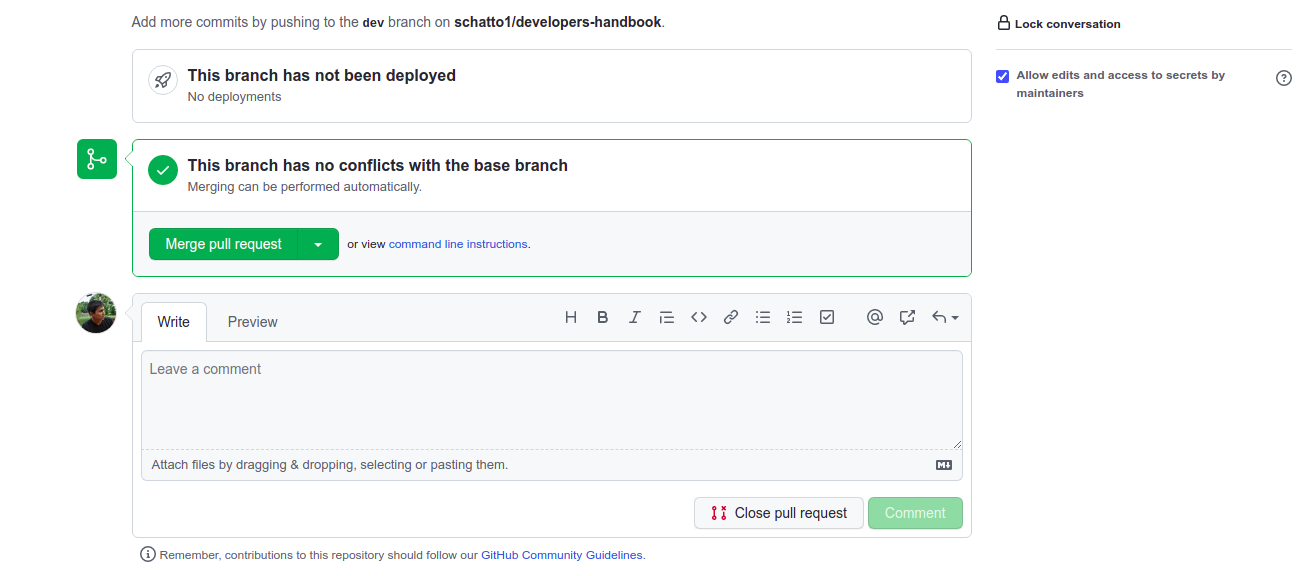
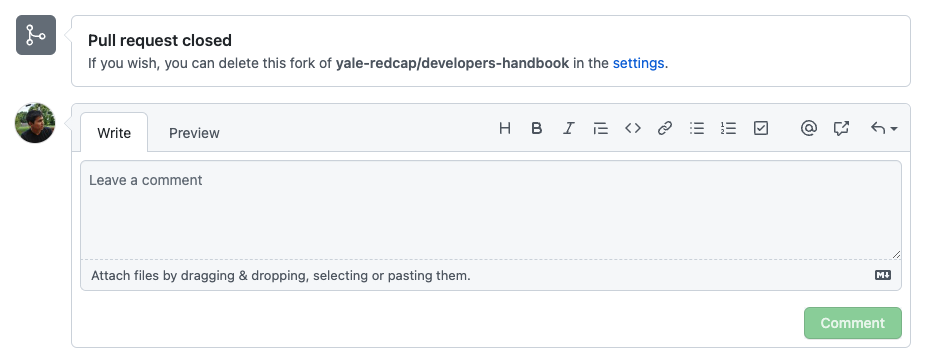
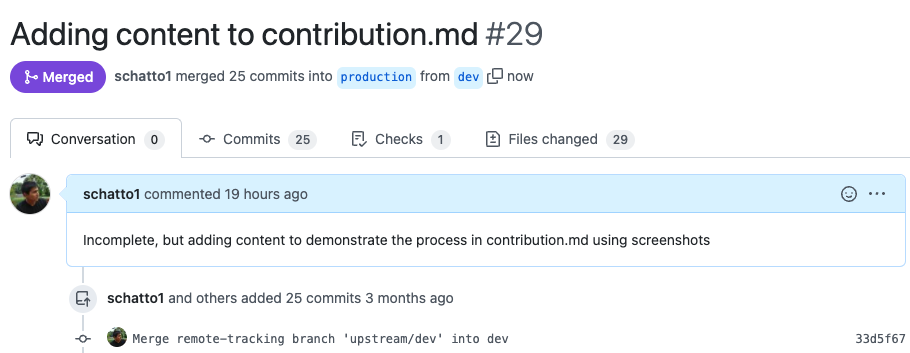
Once the merge is complete, GitHub will tell you so and the pull request will be closed.
Publishing changes to production
By default, the dev branch is designated as the main branch for the Developer's Handbook GitHub repository. Thus, all pull requests and merges to the central repository will be directed to the dev branch, and this is where bleeding edge changes will reside.
One more process is required to update and publish these changes to the public-facing handbook website.
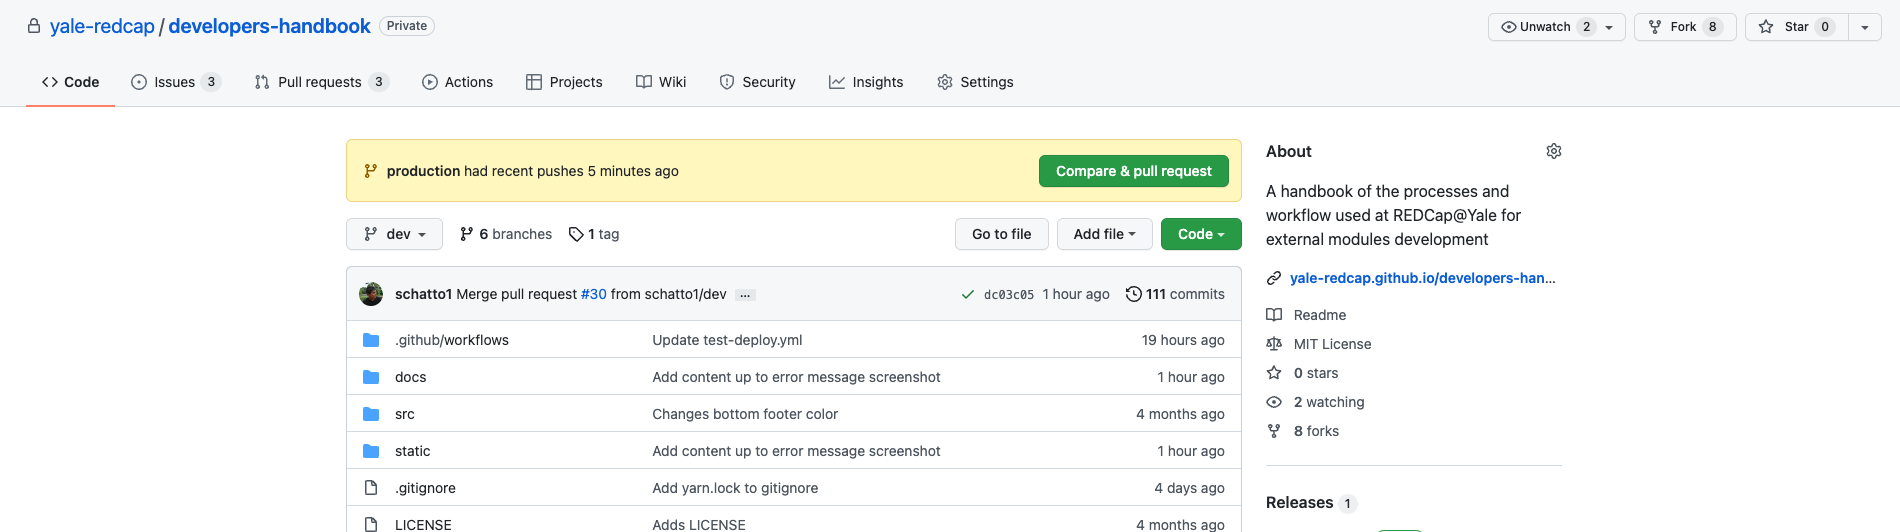
Creating the pull request to production
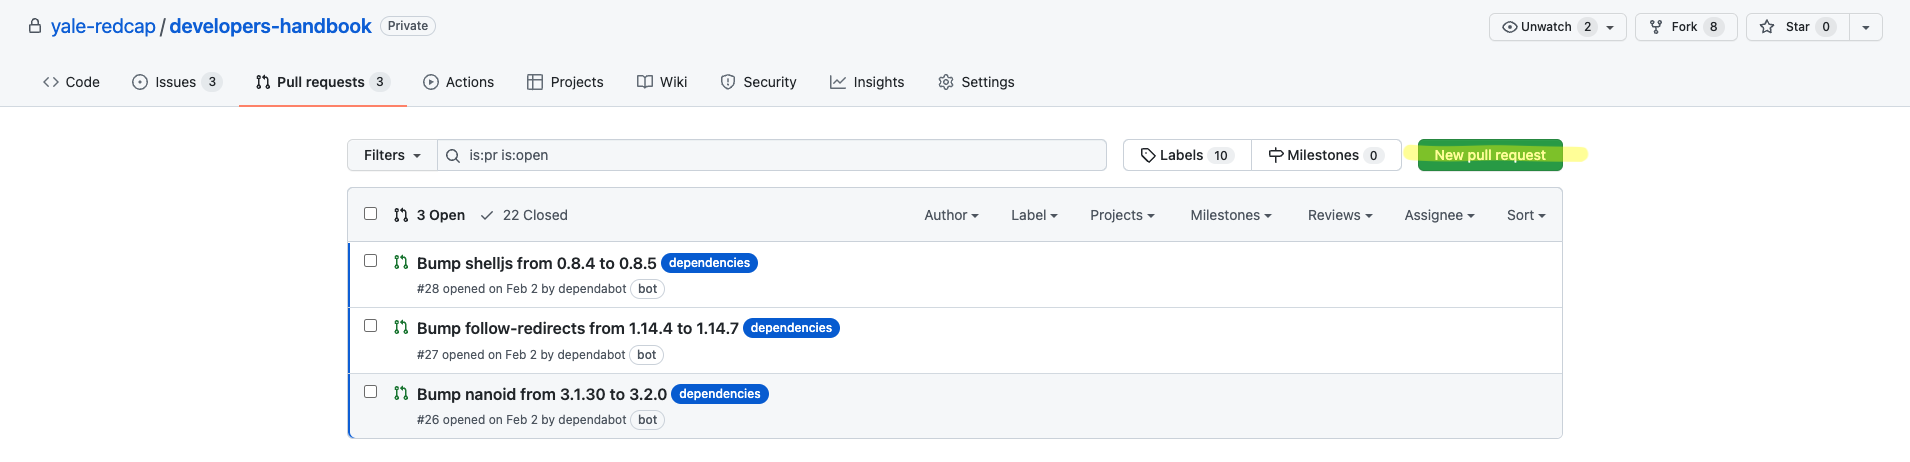
Once ready to publish, developer with write access to the central repository should create a pull request from the dev branch to the production branch within the Yale REDCap central repository:
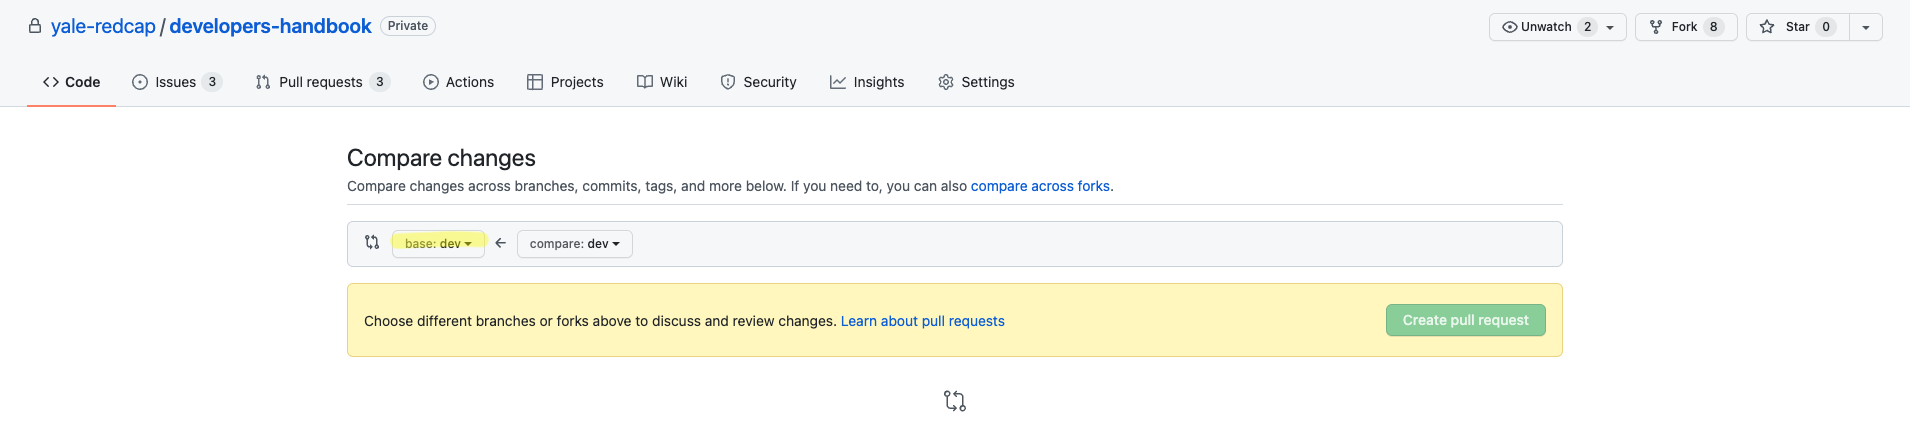
caution
Make sure that you are pulling from the dev branch into the production branch. Once the production branch is designated as the base branch, changes should appear on the page:
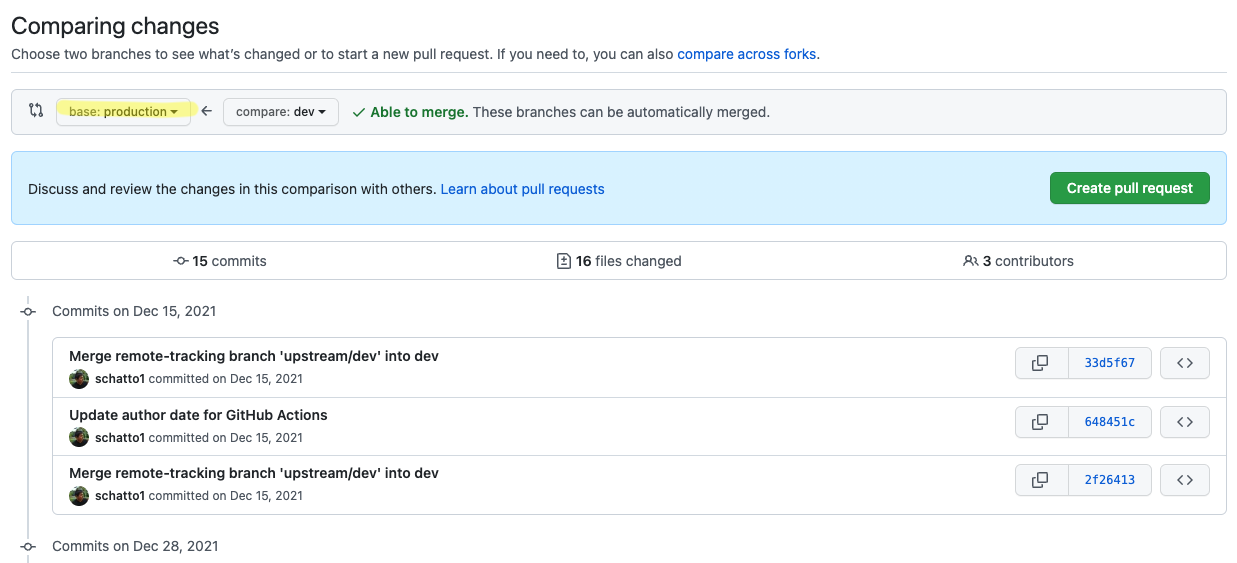
Once the changes appear, select Create pull request, and give the pull request a descriptive title and some comments, while making sure the pull direction is correct.
Automatic testing by GitHub Actions
Within the .github/workflow directory in the repository, there are two .yml files that leverage the GitHub Actions framework to outline two workflows that are triggered automatically depending on certain conditions. The actual .yml files are documented later in this appendix.
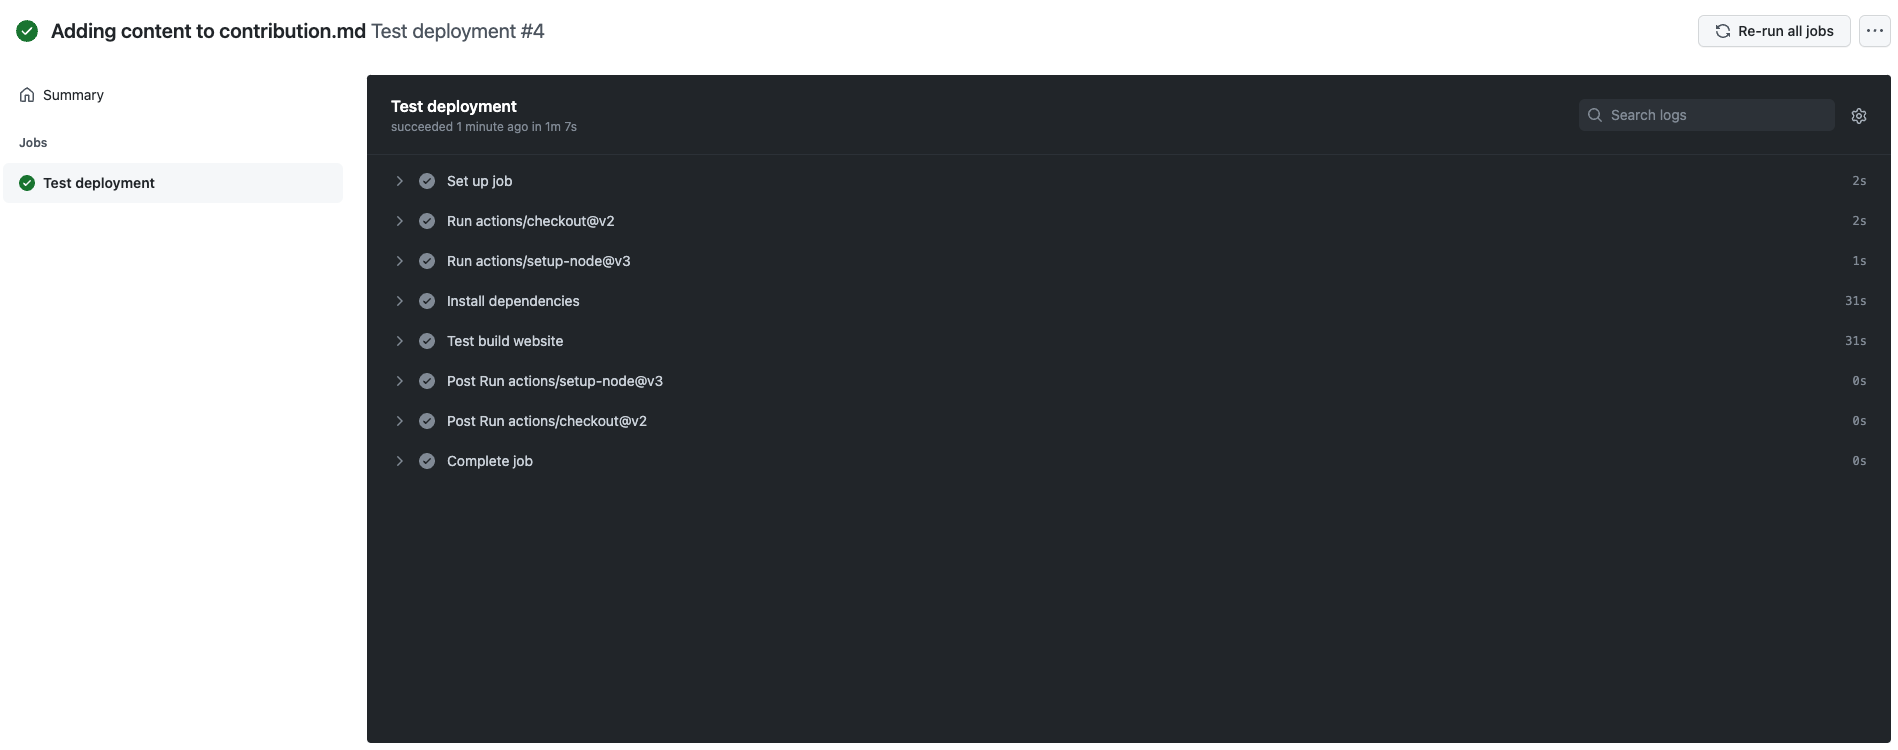
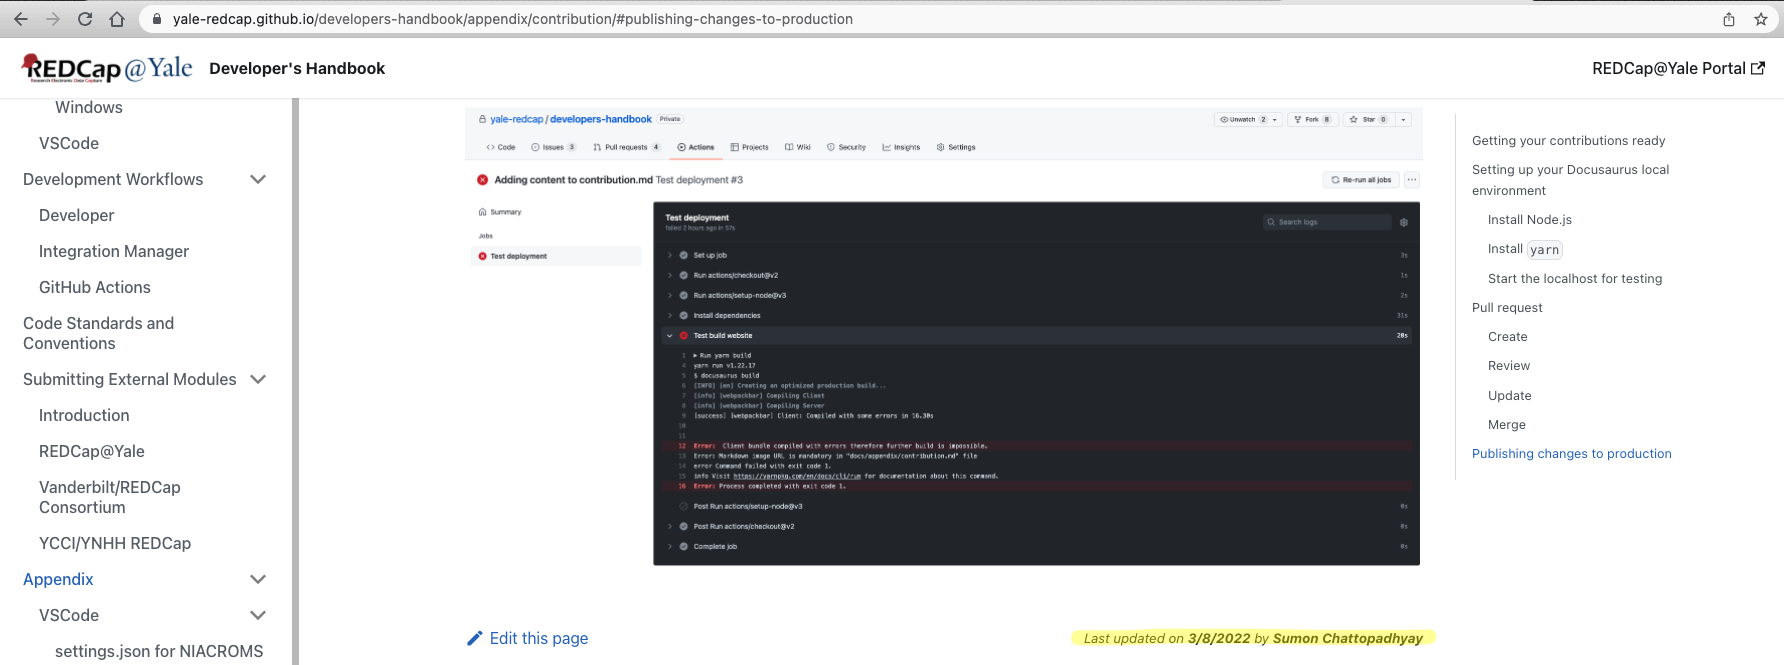
Once the pull request to production is created, the test deployment is triggered by GitHub Actions:

Sometimes, the checks will fail:
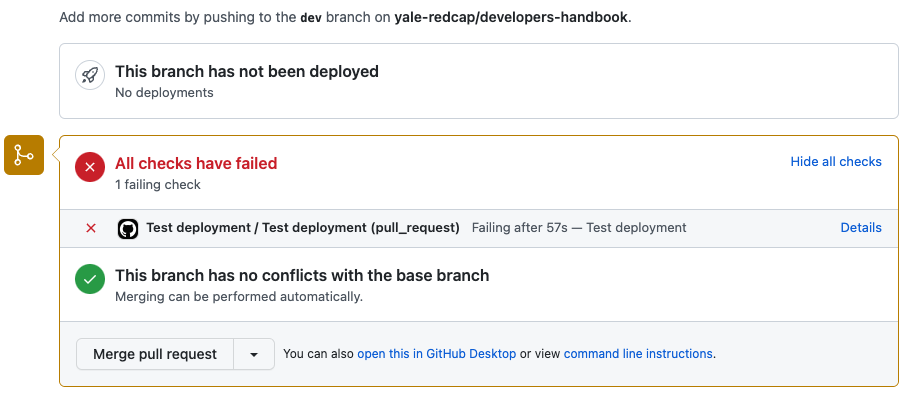
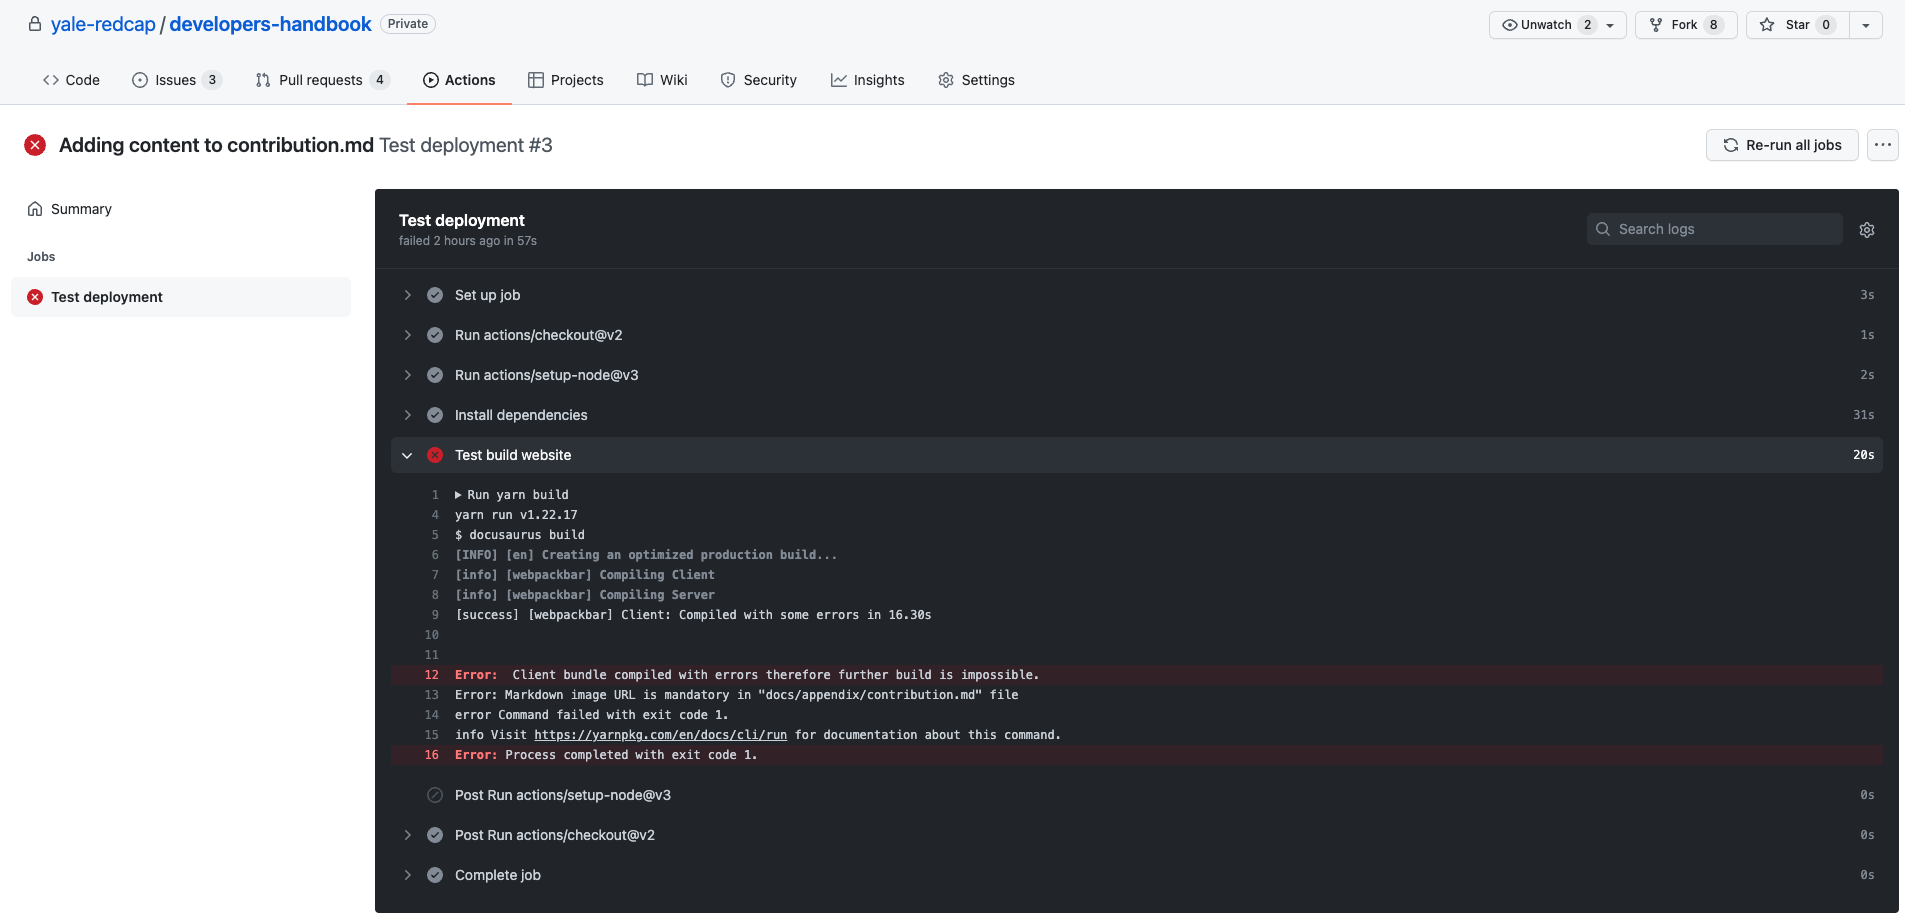
and you will have to figure out what the bug and/or issue was:
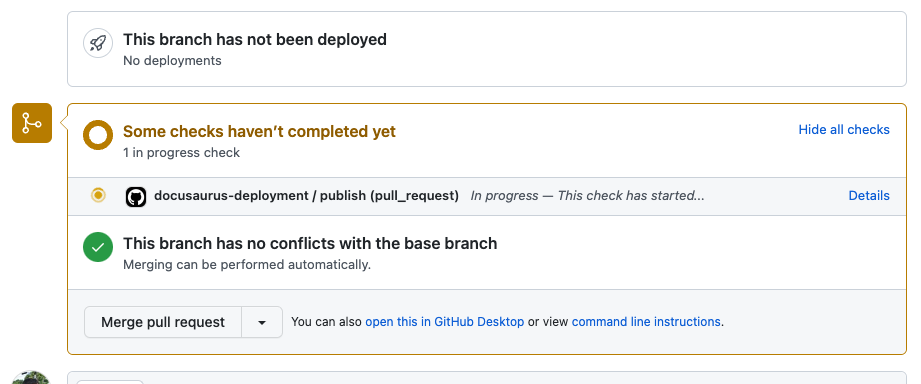
In most cases, the check will successfully complete:
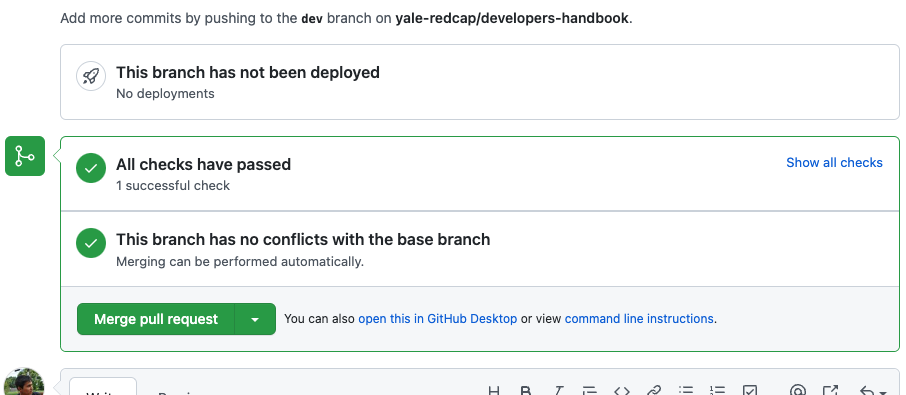
and you will be able to proceed to merge the pull request into production:
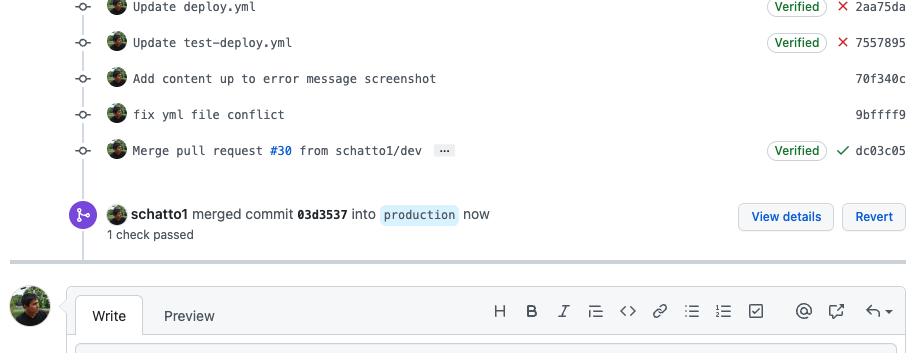
Automatic deployment
Just like with the earlier test deployment, which was triggered with the creation of the pull request to the production branch, the actual deployment of this handbook is automatically triggered when the pull request is merged into the production branch. You can find the actual .yml files later in this appendix.
Once the pull request to production is merged, the deployment is triggered by GitHub Actions:
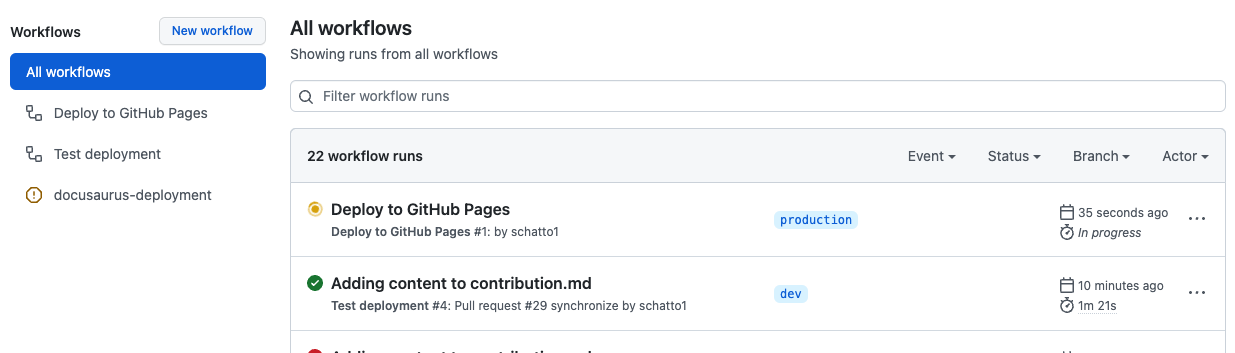
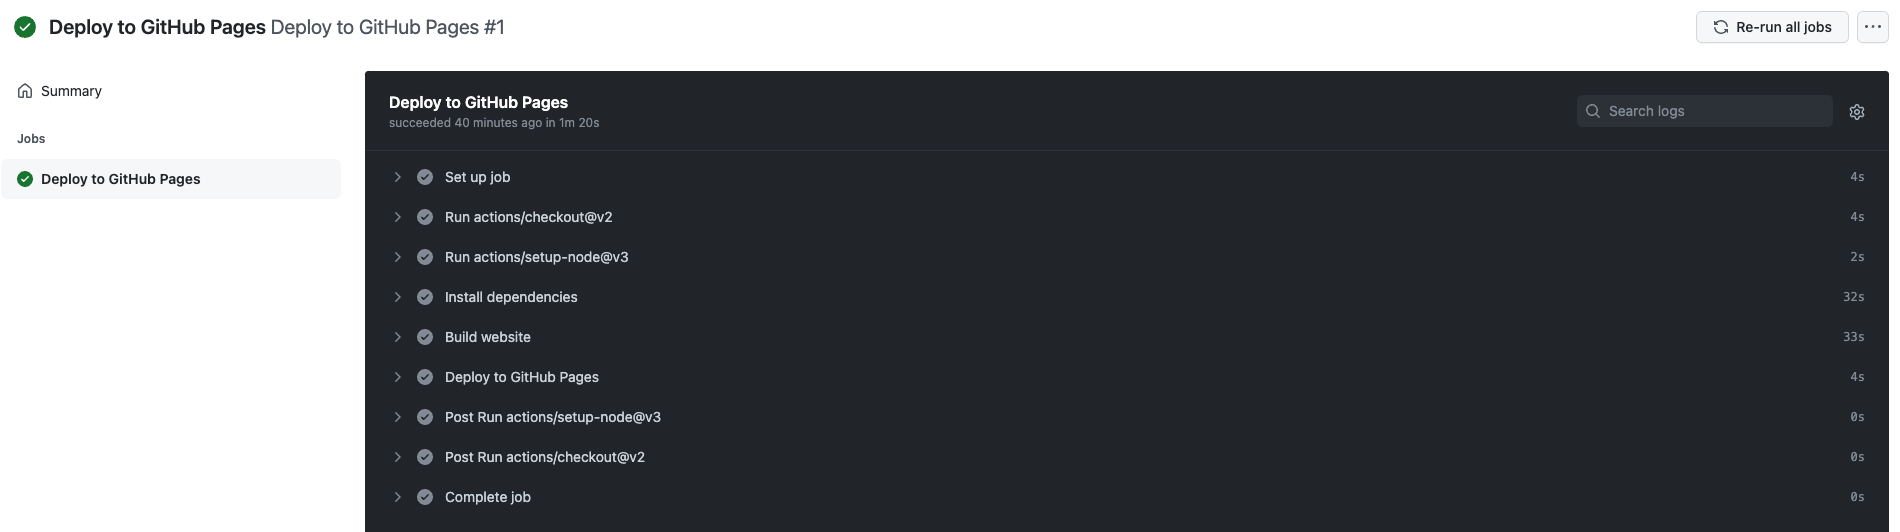
Once this workflow succeeds and is complete, your public-facing handbook should be updated:
Congratulations, you've pushed your changes to production!